10 Essential Steps for Night Sky Protection Every Camper Should Know
By Sofia Alvarez • 29th Oct
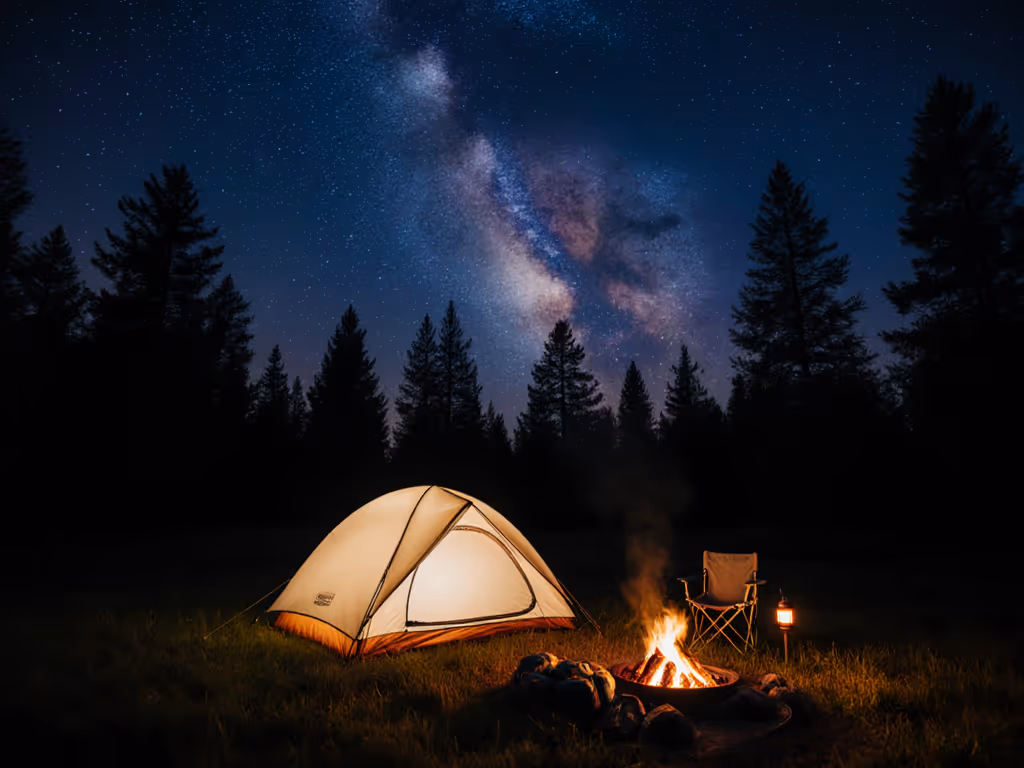
Night sky protection is not just about seeing more stars; it is about how you light your camp so nature, safety, and sleep all benefit. If you have ever stepped from a bright lantern into the forest and felt briefly blinded, you have experienced the problem. Traditional lighting can scatter upward, waste energy, and wash out the Milky Way. With a few deliberate choices, you can keep your path safe, preserve night vision, and enjoy deeper stargazing, all while reducing wildlife disturbance and battery drain.
Why Night Sky Protection Matters for Campers
Light pollution is rising globally, with studies commonly citing that more than 80 percent of people now live under skyglow. For campers, that means the very places we visit to reconnect with darkness can feel dimmed by haze from unshielded lights. Beyond the view, glare reduces contrast on trails and creates harsh shadows that hide hazards. For accident prevention strategies and beam placement, see our camp lighting safety guide. Fully shielded, warmer lighting keeps illumination where you need it and prevents stray beams from scattering into the sky. Ever wonder why a red headlamp makes the night feel calmer? Your eye’s rods stay adapted when you avoid blue-heavy light, so you see better with less brightness.
Nature benefits too. According to organizations such as DarkSky International and NPS [National Park Service], artificial light at night disrupts the movement, feeding, and mating patterns of nocturnal species. Sea turtles, migrating birds, moths, and pollinators are especially sensitive. Campgrounds are microcosms: a cluster of unshielded lanterns can disorient night insects and draw them away from their roles in the ecosystem. The good news is that camping light is temporary and fully under your control. By choosing warm, shielded, lower-lumen options and aiming light only where needed, you can dramatically shrink your footprint while still feeling secure. To reduce battery waste and light pollution further, see our guide to eco-friendly camping lights.
10 Steps for Night Sky Protection Every Camper Should Know
You do not need to be an engineer to set up a camp that feels safe and star-friendly. The following ten steps are practical and field-tested, blending best practices from outdoor educators with recommendations and insights from Camp Crew Lighting. Consider this your night-mode playbook for any campsite, festival field, or group basecamp. As you read, picture a simple sketch: a tent cluster, a shielded string light at waist height, glow markers on guy lines, and one red-mode headlamp moving quietly along the path. That picture is not just cozy; it is efficient lighting design.
Watch This Helpful Video
To help you better understand night sky protection, we've included this informative video from National Geographic. It provides valuable insights and visual demonstrations that complement the written content.
- Use the right brightness for the task. Most camp chores need 10 to 100 lumens, not 1000. Start low and raise only where necessary. Your eyes adapt; your batteries last longer; your neighbors see more stars.
- Favor warm color temperature. Choose lights labeled 2200 to 2700 K [kelvin]. Warm light scatters less and disrupts circadian rhythms less than cool white. If a lantern offers adjustable color, set it to the warmest tone at night.
- Aim light down and shield it. Clip lamps below eye level and use shades, hoods, or built-in shields so you cannot see the light source directly. This reduces glare and blocks upward spill that fuels skyglow.
- Switch to red mode for movement. A headlamp with red mode keeps rod cells sensitive so you avoid the “white flash” effect when you look up. Red preserves trail contrast better than blue-leaning beams in fog or dust.
- Create light zones. Make three zones: dark stargazing space, dim general camp area, and a bright but shielded task spot for cooking or setup. Clear zones stop brightness from creeping across the whole site.
- Use timers and dimmers. Many modern LED [light-emitting diode] systems and battery lanterns support dimming or auto-off. Get more control with our guide to adjustable LED camping lights. Set a timer for when you typically turn in so the camp cools to darkness without anyone having to remember.
- Pick efficient power solutions. High-capacity packs rated in mAh [milliampere-hour] paired with low-draw LED [light-emitting diode] lights extend run time. Recharge via a compact solar panel at midday or a shared USB [Universal Serial Bus] station.
- Mark hazards without flooding the site. Use dim, warm micro-lights or reflective tape on stakes and steps. Glow cord and phosphorescent markers light the path without painting the forest walls.
- Practice light etiquette with your group. Agree on “red after dark,” lights out by a set time, and no pointing beams at faces. A 60-second pre-lights-out check saves hours of glare and better sleep for everyone.
- Pack a sky-friendly plan B. Weather, gear failure, or last-minute arrivals happen. Keep a spare warm-toned headlamp, extra rechargeable cells, and a compact shield to convert a bright lantern into a hooded light.
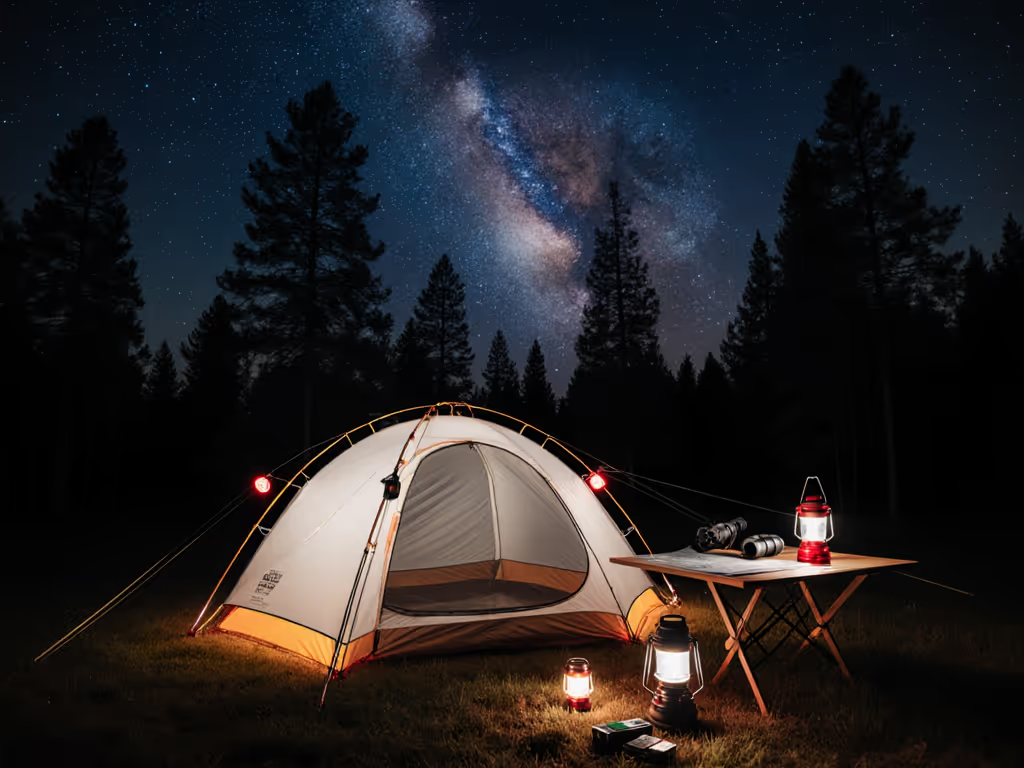
Gear Choices and Comparisons for a Dark-Sky-Friendly Camp
Gear choices make or break your lighting footprint. Not all lanterns and headlamps are equal, even when they share lumen ratings. Look for features such as warm color settings, integrated shades, and true low-lumen modes under 10 lumens. Products that advertise “turbo” brightness but bury their low modes in the menu often encourage over-lighting. Camp Crew Lighting publishes head-to-head reviews and curated picks for solo hikers, families, and festival crews to help you avoid common pitfalls. Before you buy, consider the comparison below as a quick filter for your shortlist and a reminder that “less and lower” often beats “brighter and farther.”
Lighting Options Compared for Night Sky Protection
| Option | Best Use | Color Temp | Shielding/Glare | Battery Impact | Notes |
|---|---|---|---|---|---|
| Headlamp with red mode | Walking, maps, tent tasks | Red + 2700 K [kelvin] | Excellent when angled down | Very low on red | Preserves night vision; avoid strobe in camp |
| Warm LED [light-emitting diode] lantern | Cooking, shared space | 2200 to 2700 K [kelvin] | Good if frosted and hooded | Moderate; dimming extends life | Choose true low modes under 10 lumens |
| Shielded string lights | Perimeter and path marking | 2000 to 2400 K [kelvin] | Very good with shades | Low; wide coverage | Mount waist-high; avoid eye-level glare |
| Unshielded white lantern | Large area flood | 5000 K [kelvin] and above | Poor; high glare and spill | High at bright settings | Not recommended for dark sites |
| Propane mantle lantern | Legacy use, emergencies | Warm, but intense | Poor without diffuser | Fuel-based; no dim | Use sparingly; add a shade if you must |
Numbers on a box only tell part of the story. A lantern that “maxes out” at 1000 lumens sounds impressive, but without dimming and shielding, you are likely to blast your camp and the tree canopy. Conversely, a 150-lumen lantern with a wide diffuser may feel brighter in the space you care about because it places light where you need it. Efficiency matters too. Warm LED [light-emitting diode] emitters are extremely frugal at low settings, which means smaller power banks can carry you through multi-night trips. Camp Crew Lighting’s dark-sky-friendly lighting system recommendations combine warm emitters, shades, and smart power so your camp works like a tiny, well-planned neighborhood instead of a stadium.
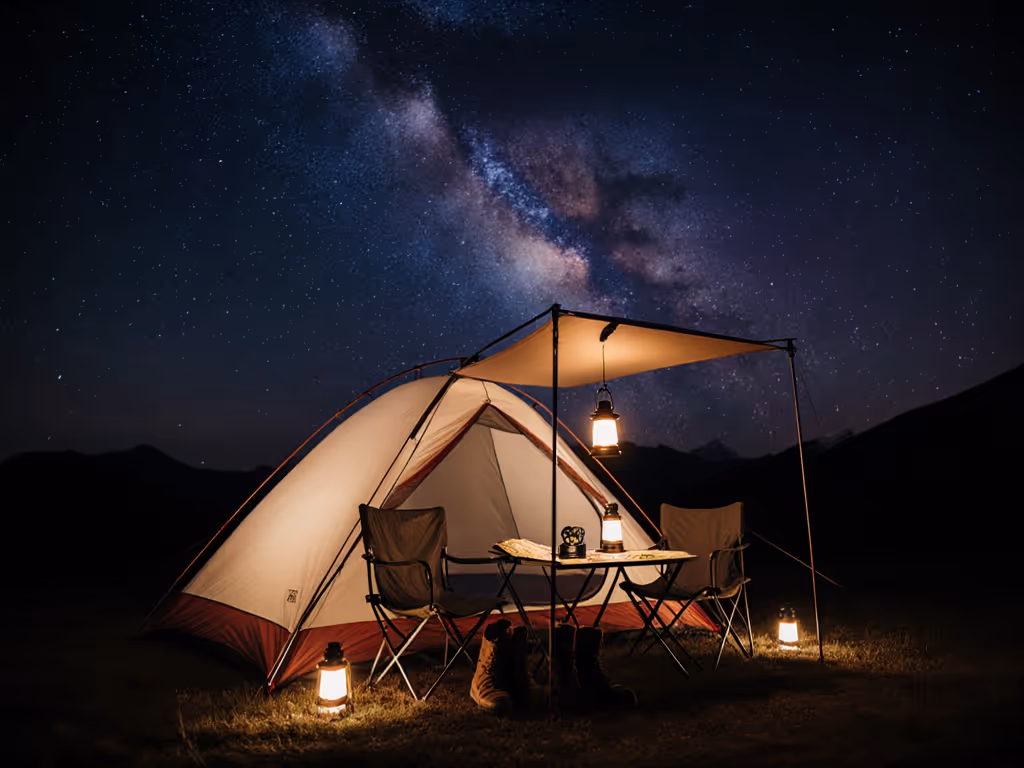
Smart Layout, Etiquette, and Maintenance
Even perfect gear can falter if the layout is sloppy. Start by mapping your camp in daylight. Place cooking and communal areas close together so a single shielded lantern can serve both. Keep tents outside the brightest cone of light and reserve one corner as a true dark zone for stargazing and night photography. For paths, stagger dim markers every few steps rather than one bright beacon that floods a wide area. This patterning guides feet without whiting out the forest or meadow.
Maintenance and habits sustain your plan through the trip. Recharge batteries at midday when solar panels are most efficient. Wipe dust from diffusers; a thin film can double glare. Check guy lines and reflectors nightly, especially after wind, so you do not add brightness to make up for misplaced markers. Etiquette matters as much as equipment: agree on a “lights discussion” at your first group meeting, and designate one person as the light lead for adjustments. Want a quick win? Pack a lightweight clamp-on shade so any unexpectedly harsh lantern can be tamed in seconds.
- Place lights below eye level; hang lanterns around waist height.
- Angle beams 45 degrees down to cut direct line-of-sight exposure.
- Keep lumens low; increase only for short, specific tasks.
- Choose warm tones; reserve white light for safety-critical needs.
- Use timers; aim for a quiet-hours auto-off window.
How Camp Crew Lighting Helps You Get It Right
Sorting through specs, acronyms, and glossy marketing is a lot when you are planning a weekend under the stars. Camp Crew Lighting exists to remove the guesswork. The team publishes comprehensive reviews of camping lights, provides dark-sky-friendly lighting system designs, and provides how-to guides for setup and maintenance. Their head-to-head comparisons make trade-offs visible, and their curated recommendations map choices to your budget, activity, and group size. If you have wondered why one “warm” lantern feels harsher than another, or why your battery bank dies by night two, their explanations connect science to real-world camp life.
Camp Crew Lighting also addresses the root problems many campers face: glare that ruins night vision, battery waste from over-bright settings, and upward spill that erodes the quiet beauty of the sky. With dark-sky-friendly lighting system design guidance, they specify warm emitters, practical shades, thoughtful mounting heights, and efficient power strategies. The result is a campsite that feels calmer, safer, and more energy-wise. To make planning easier, use the matrix below to match common goals with proven solutions drawn from their guides and comparisons.
Goals, Pitfalls, and Solutions from Camp Crew Lighting
| Your Goal | Common Pitfall | Camp Crew Lighting Solution | Why It Works |
|---|---|---|---|
| Preserve night vision | Bright white headlamps everywhere | Red-mode headlamps plus warm lanterns | Red light protects rod sensitivity; warm tones reduce scatter |
| Reduce glare | Eye-level, bare bulbs | Shielded fixtures hung below eye level | Blocks direct view of the source and downward-aims light |
| Extend battery life | Running max brightness by default | True low modes, dimmers, and timers | Lower current draw and scheduled shutoff save watt-hours |
| Lower environmental impact | Cool white, unshielded flood lighting | 2200 to 2700 K [kelvin] emitters with diffusers | Warm, diffuse light cuts skyglow and wildlife disruption |
| Right gear for budget | Overbuying high-output models | Curated picks by price and use case | Value options with the features that matter most |
Night Sky Protection in Context: Data, Examples, and Field Notes
Statistics keep the big picture in focus. Global analyses note that sky brightness is increasing annually in many regions, and widespread urban glow reaches far into rural landscapes. Yet campsite-level changes work quickly. For example, switching to fully shielded, warm-toned lights in a campground loop can make the Milky Way reappear to dark-adapted eyes within minutes. In field tests observed by outdoor educators, groups using red-mode navigation reported fewer trip hazards and less eye fatigue, even at lower brightness. That is a safety story as much as a stargazing story. It is also an energy story: dim, warm LED [light-emitting diode] setups routinely stretch a 10,000 mAh [milliampere-hour] power bank across a long weekend.
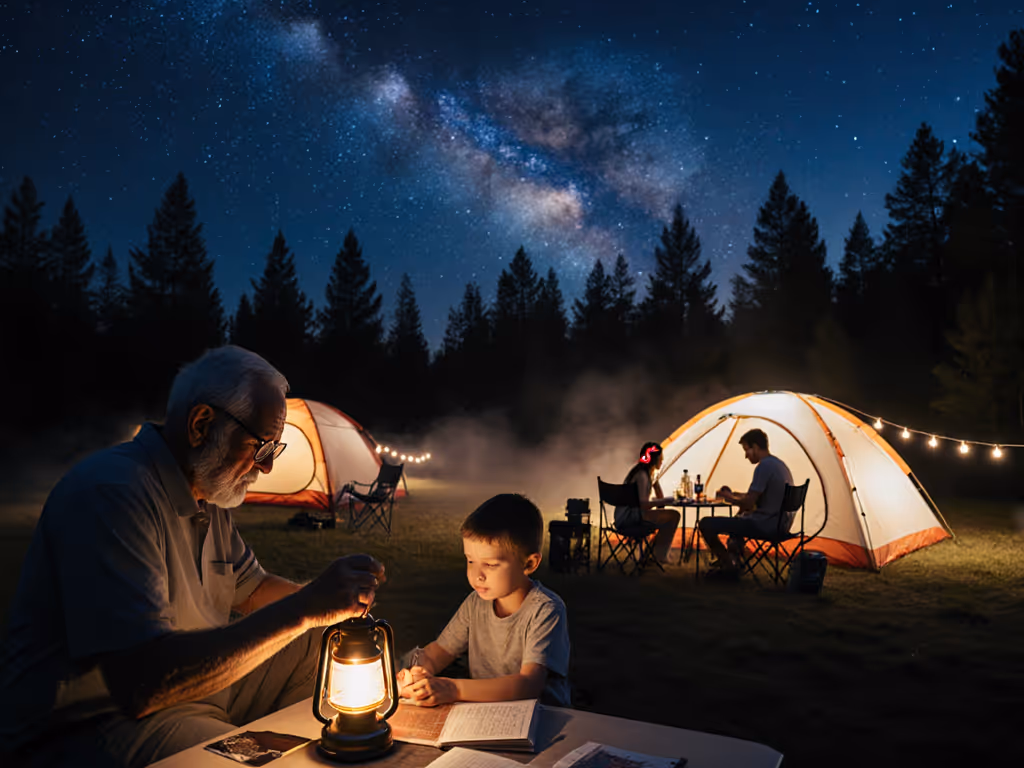
Real-world example: a family basecamp with two tents, a cooking fly, and a hammock area. First night with a cool white lantern hung high, everyone complained about glare, bugs, and washed-out night views. Night two, they used Camp Crew Lighting’s plan: one shielded warm lantern at waist height for cooking, red-mode headlamps for movement, reflective markers on cords, and a dim string light along the path. The result felt quieter, required fewer battery swaps, and revealed hundreds more stars to the naked eye. Could your next campsite feel like this? With a simple checklist and the right gear, it is remarkably achievable.
Field Checklist: Quick Win Settings and Targets
Before heading out, capture your settings on a simple card so anyone in your party can help maintain the plan. You can adapt these targets to your site’s size, moon phase, and safety needs. Treat them as starting points, then dim further once your eyes adjust. Remember, the goal is control and consistency: predictable, shielded light where needed, deep darkness elsewhere. The table below summarizes easy-to-remember numbers for most campsites. If you are unsure how bright each task should be, see our lumens camping guide.
Night-Sky-Friendly Targets at a Glance
| Use | Brightness Target | Color Temperature | Mounting Guidance | Timer/Dimming |
|---|---|---|---|---|
| Path marking | 1 to 10 lumens | 2000 to 2400 K [kelvin] | Waist height, shielded | Auto-off after quiet hours |
| Cooking area | 50 to 150 lumens | 2200 to 2700 K [kelvin] | Below eye level, diffused | Dim to 25 percent after meals |
| Tent interior | 5 to 40 lumens | Warmest available | Clip-on shade, not overhead | Timed night-light, then off |
| Navigation | Red mode low | N/A, red spectrum | Angle beam to ground | Momentary use only |
| Stargazing zone | 0 lumens | Nature’s own | Away from any cones | Always dark |
Want a mental picture to check your setup at night? Step 10 paces from camp, turn, and look back. If you can see glowing bulbs, you likely have glare. If the ground is lit but you cannot see the sources directly, you are close to perfect. If you can look up and count more stars by the minute, you are already succeeding at night sky protection. And if you want a second opinion, Camp Crew Lighting’s guides include photo-based diagnostics to help you tweak height, angle, and color until the site looks and feels right.
Night Sky Protection: Your Questions, Answered
Is warm light always safer? Warmer tones generally scatter less and impact circadian rhythms less, but aim and brightness still matter more. Is red mode required? It is not mandatory but is the quickest way to preserve night vision during movement. Do I need expensive gear? No. Many budget-friendly kits reviewed by Camp Crew Lighting include proper shielding and true low modes. How do I balance safety with darkness? Use task-specific light with strong contrast on the ground, reflective markers, and agreed quiet hours. Finally, what about neighbors at a festival? Offer to share glow markers and suggest a red-mode hour; many people simply have never tried it before.
Step by step, these practices compound. For campers, outdoor enthusiasts, and festival-goers, the payoff is immediate: clearer skies, calmer camps, safer footing, and batteries that last. The planet notices too. When you reduce glare and upward spill, local insects are less drawn away from natural roles, birds are less likely to be disoriented, and you leave less trace. And because lighting is one of the easiest campsite variables to control, your commitment to night sky protection can inspire nearby groups to try it on the spot.
Bringing It All Together Before Your Next Trip
Let us tie the principles back to the tools and plans you will pack. Build a kit that can do three things well: throw a warm, shielded pool of light on tasks; guide feet with tiny, dim cues; and switch to true darkness when stars take center stage. That kit can be compact and affordable, and Camp Crew Lighting’s curated recommendations help you hit those marks without buying redundant gadgets. With their how-to walkthroughs, you will know exactly where to hang a lantern, how to clip a shade, and which low modes to save as favorites. Taken together, these choices add up to a camp that feels intentionally designed.
As a final check, write your “night plan” on a card: warm below eye level, red for movement, timers at quiet hours, and a designated dark zone. Share it with your group so everyone is a steward of the night. Then, when the last embers fade, look up. If your camp’s glow fades with them, you will have proof that simple design and smart gear can coexist with star-filled skies.
Final Thoughts Before You Pack
Protect the view, protect your crew, and let the night feel like night. Imagine camps and festivals where pathways whisper with gentle, warm markers and the galaxy shines unblurred above the tree line. In the next 12 months, more campgrounds will adopt dimmer-friendly, shielded guidelines as campers like you lead by example. What small change will you make tonight that transforms your experience and invites others into the practice of night sky protection?
Additional Resources
Explore these authoritative resources to dive deeper into night sky protection.
- Protecting the Night Sky at Your Home and Community
- DarkSky International | Protecting the night skies for present and ...
Design Smarter Camps With Camp Crew Lighting
Discover dark-sky-friendly lighting system designs that preserve the night environment, cut glare, extend battery life, and elevate camping with tailored recommendations for campers and festival-goers.
Related Articles