10 Low Impact Lighting Solutions to Transform Your Outdoor Camping Experience
By Naoko Sato • 28th Oct
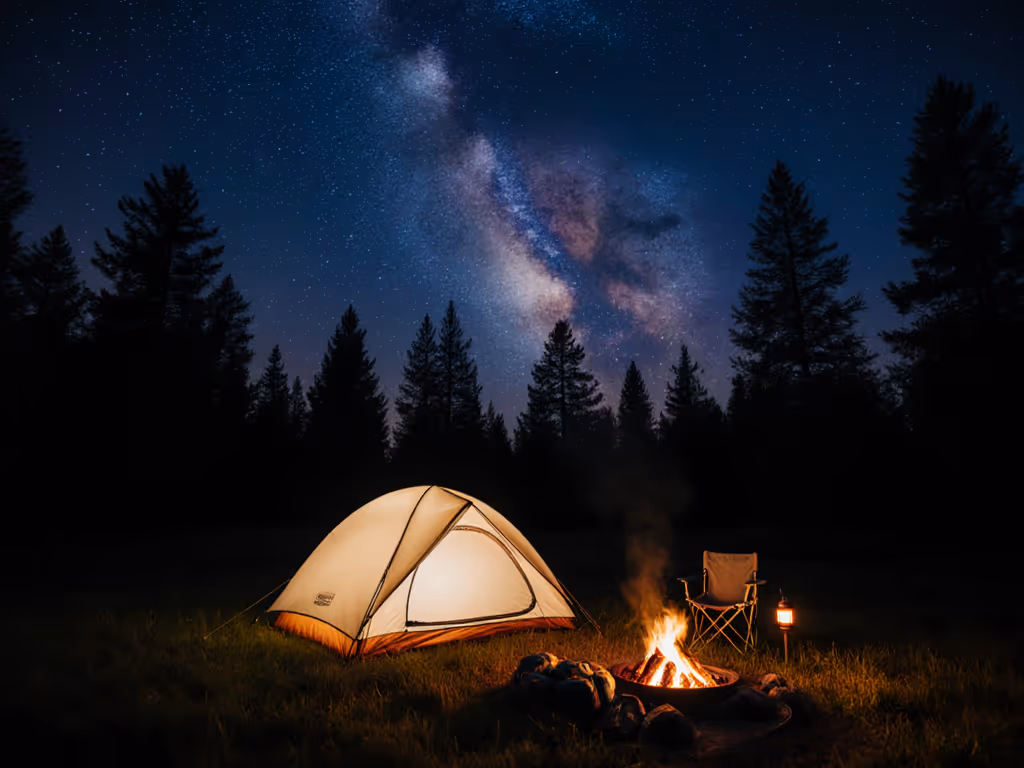
Your campsite does not need to glow like a stadium to feel safe, social, and magical, and that is exactly where low impact lighting solutions shine. Traditional lamps can blow out night vision, draw down batteries, and blanket the stars in haze. By choosing warmer color temperatures, shielded fixtures, and dimmable gear, you can get the right amount of light at the right place and time. At Camp Crew Lighting, we test and review dark-sky-friendly systems and provide guidance so your camp stays inviting, efficient, and respectful of the environment. As you read, notice how small choices in spectrum, beam control, and placement add up to big gains in comfort. Ready to see more with less light and keep the Milky Way overhead? Let us walk you through smart options, practical comparisons, and a packing plan you can use on your very next trip.
Why Low-Impact Lighting Matters for Your Campsite
After sunset, your eyes rely on rod cells that adapt to darkness in about 20 to 30 minutes, and a single blast of harsh white light resets that clock. Researchers and park agencies estimate that more than 80 percent of people living in North America cannot see the Milky Way from their homes, and campsites with unshielded, cool-white beams push that loss even farther into wild places. What changes the outcome? Warm correlated color temperature (CCT) [correlated color temperature (CCT)], downward shielding, and just-enough lumen levels. Field data shows that warm sources near 2200 to 2700 kelvin reduce short-wavelength blue content that scatters in the atmosphere and suppresses melatonin, helping you and wildlife stay in natural rhythms. Meanwhile, a well-aimed 20 to 50 lumen path light can often replace a 300 lumen flood when it is close and shielded. At Camp Crew Lighting, our dark-sky-friendly guidance follows evidence-based guidelines like zero upward light, amber-first spectrum, and task-only placement, so you preserve night vision, save energy, and actually see the stars you came for.
Low Impact Lighting Solutions: The Top 10 You Can Pack
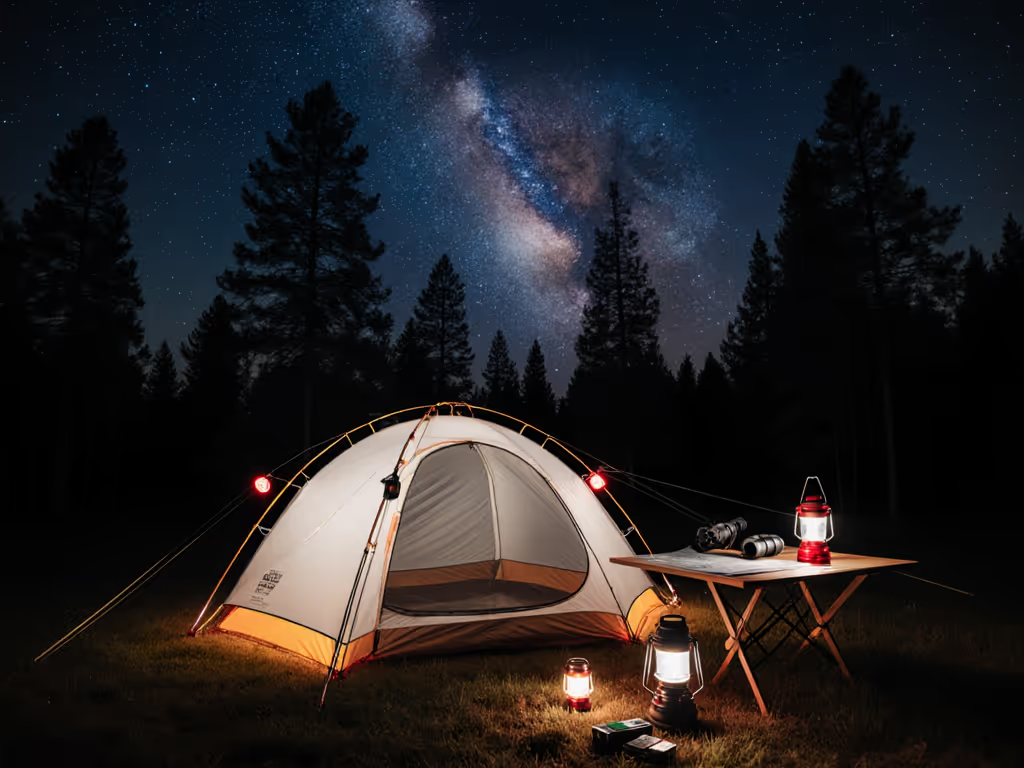
You do not need a truckload of gear to build a calm, efficient glow; you need the right roles covered by simple, reliable kit. Start with layers: tiny markers for orientation, focused beams for tasks, and soft ambient bounce for gathering. Favor warm sources, dimmable controls, and optics that aim light down where feet and hands work. To make this easy, we use the same approach in our head-to-head reviews: we evaluate spectrum, shielding, controls, and runtime, then map each pick to common scenarios like solo hiking, family basecamps, and festival groups. For deeper product testing, see our lantern comparison with verified runtime. As you scan the list below, imagine your layout and ask yourself: where do I truly need light, and where will reflection or a lower mode be enough? That one question often cuts your power use in half. When in doubt, choose the lowest mode you can live with and move the light closer to the task instead of cranking up output.
Watch This Helpful Video
To help you better understand low impact lighting solutions, we've included this informative video from Builder Brigade. It provides valuable insights and visual demonstrations that complement the written content.
- Warm-dim headlamp with red mode: Pick a headlamp that offers sub-5 lumen low modes and a true red LED (light emitting diode) [light emitting diode (LED)] for map checks and late-night tent entry. Red preserves dark adaptation and calms camp vibes.
- Downward-shielded micro lantern: Use a compact lantern with a top cap or shade that blocks upward spill and a 2200 to 2700 kelvin setting. Hang it low and dim it; your eyes will do the rest.
- Path markers, not floods: Place two to four stake or puck markers at ankle height, 15 to 30 lumens each, pointed down. Motion-sensing models prevent all-night glow and stretch batteries.
- Tent backlight diffuser: Clip a tiny LED (light emitting diode) to a white stuff sack or translucent bowl to create a soft bounce that lights the whole tent without glare. Lower placement reduces shadow lines.
- Task clamp light: A gooseneck task light with a narrow beam and warm CCT (correlated color temperature) [correlated color temperature (CCT)] keeps cooking or knot-tying sharp without lighting the forest.
- Under-table glow: Tape a dimmable strip under your table edge for social light that never hits eyes directly. Amber modes curb bugs and glare.
- Rechargeable power-bank lantern: Choose a lantern that doubles as a USB (universal serial bus) [universal serial bus (USB)] power bank to reduce device count and weight. Low modes plus efficient optics deliver all-evening runtime. We benchmarked top lantern power hubs to compare charging speeds and real-world power output.
- Reusable electronic “glow sticks”: Replace disposable chem sticks with rechargeable markers. Clip them to guylines, zippers, or backpacks to prevent trips and late-night tent fumbling.
- Safety clip beacons: A tiny blinking or steady beacon at 1 to 5 lumens on your pack or dog collar marks movement without washing out the trail for others.
- Battery tea lights for ambience: Leave open flames out of dry seasons. Warm, flicker-mode tea lights create campfire ambiance inside safe lantern housings or under a pot lid to diffuse.
Compare Before You Buy: Specs That Actually Matter
Comfort and courtesy come from more than raw lumens, so focus on spectrum, optical control, and power draw first. Spectral content below 500 nanometers scatters readily, so warmer CCT (correlated color temperature) [correlated color temperature (CCT)] choices reduce skyglow and preserve night vision. Optics and shielding direct light down, which cuts glare and keeps peace with neighboring campsites. Finally, runtime depends on both efficiency and behavior: dimming early, aiming carefully, and using burst modes only when needed. In our reviews at Camp Crew Lighting, we score each product for dark-sky performance, not just brightness, and we cross-check with hands-on cooking, navigation, and group setups. The reference table below shows typical specs we see on leading picks and how they map to use cases, so you can snag the right tool without overbuying or overpowering your camp.
Quick Comparison of Low-Impact Camp Lights
| Solution | Ideal Use | Max Lumens | Lowest Mode | CCT (correlated color temperature) | Beam/Shield | Power Source | Est. Runtime at Low |
|---|---|---|---|---|---|---|---|
| Red-capable Headlamp | Hands-free tasks, hiking | 300–600 | 0.5–5 lumens | 2200–2700 K + red | Narrow spot, tilt | Rechargeable USB (universal serial bus) | 20–80 hours |
| Shielded Micro Lantern | Table light, card games | 150–250 | 10–20 lumens | 2200–2700 K | Top cap, frosted diffuser | Rechargeable USB (universal serial bus) | 10–30 hours |
| Path Stake Lights | Wayfinding | 50–100 | 15–30 lumens | 2200–2700 K | Full cutoff downward | Solar or AAA | All night when charged |
| Clamp Task Light | Cooking, repairs | 200–400 | 20–40 lumens | 2200–3000 K | Narrow beam, hood | Rechargeable USB (universal serial bus) | 8–20 hours |
| Under-Table Strip | Group ambience | 100–300 | 10–30 lumens | Amber mode | Indirect bounce | Power bank | 10–40 hours |
| Reusable “Glow Sticks” | Markers | 10–20 | 1–5 lumens | Amber or red | Diffuse | Rechargeable USB (universal serial bus) | 15–60 hours |
| Safety Clip Beacon | Movement marking | 10–30 | 1–5 lumens | Red recommended | Blink or steady | Coin cell or USB (universal serial bus) | 20–100 hours |
Build a Dark-Sky-Friendly Camping Light Plan
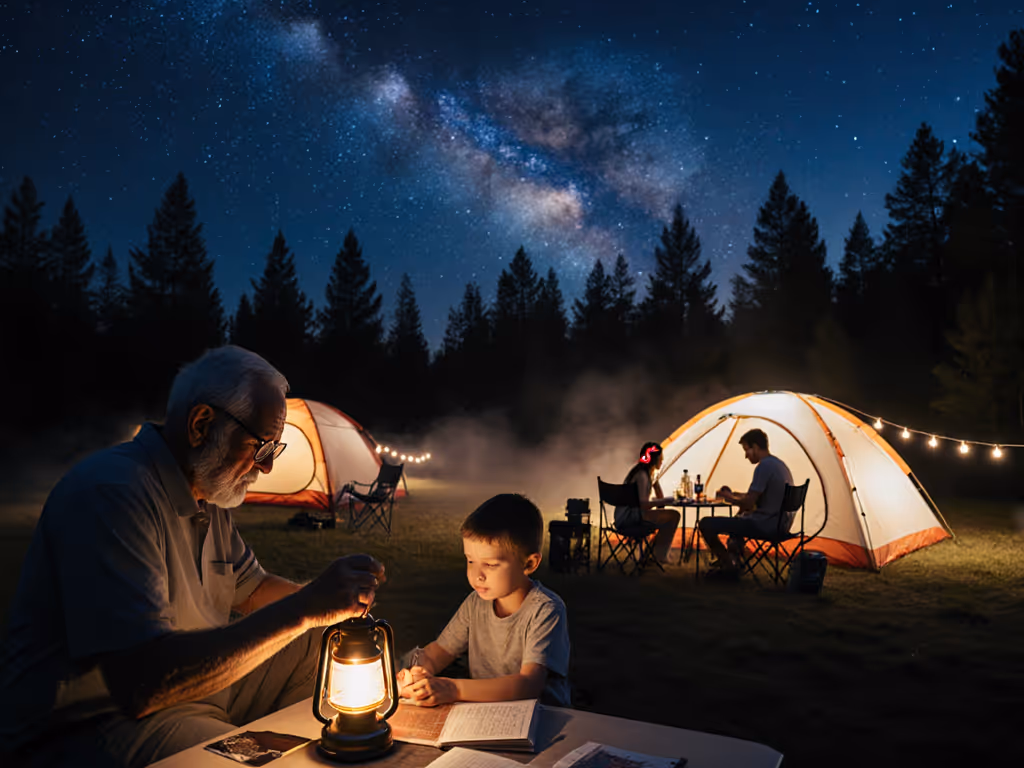
Think of your camp like a cozy cabin without walls: you want a porch glow for orientation, a kitchen task spot, and a living room ambience for conversation. Instead of blasting one bright source, layer three roles at low levels and place light close to the need. First, establish wayfinding markers at ankle height so feet find paths without shining into eyes. Next, add a warm, narrow task beam at the cook station and a dim, indirect lantern under the table or beneath a tarp to bounce light upward off surfaces, not into the sky. If you like pictures, imagine a small lantern tucked beneath a clear bowl on the tabletop; the bowl acts like a lampshade, turning points of glare into a smooth halo. Set dimmers early, choose red modes after 10 pm, and point every emitter down. This plan preserves stargazing, keeps neighbors happy, and dramatically extends your battery budget.
- Layer 1: Path and markers at 15–30 lumens each, full cutoff optics, spaced 2–3 meters apart.
- Layer 2: Task beam with narrow optics and a hood or visor; target 20–60 lumens directly on the work.
- Layer 3: Ambient bounce at 10–40 lumens indirectly reflected off table undersides, tent walls, or tarp surfaces.
Low-Impact Standards Cheat-Sheet for Campers
| Principle | Practical Target | Why It Helps |
|---|---|---|
| Spectrum | CCT (correlated color temperature) 2200–2700 K | Lower blue content reduces skyglow and melatonin disruption. |
| Direction | Zero upward light, shielded and downward | Keeps light on the ground and out of eyes, preserves dark skies. |
| Amount | As low as usable: 1–60 lumens by task | Less light, placed closer, often works better than a distant flood. |
| Time | Motion or timer controls after 10 pm | Prevents all-night glow and saves battery capacity. |
Setup, Maintenance, and Best Practices to Maximize Runtime

Even the best device fails without smart setup and care, so treat your camp like a mini lighting design project. Before leaving home, charge everything fully, label cables, and preset low modes so you are not blinded at the trailhead. In camp, mount lights low and close, shield all sources, and use warm or red modes after dark. Keep lenses clean for efficient output; dirt scatters light and raises perceived glare. For battery planning, a simple rule-of-thumb helps: Runtime in hours is approximately battery capacity in mAh (milliamp hours) [milliamp hours (mAh)] divided by device draw in mA (milliamps) [milliamps (mA)], multiplied by an efficiency factor of about 0.85 for typical USB (universal serial bus) [universal serial bus (USB)] power banks. Dimming cuts current dramatically, often extending runtime by 3 to 5 times. At Camp Crew Lighting, our maintenance guides show you how to clean contacts, set lockouts, and pick safe storage so gear works the same on day five as it did on night one. For step-by-step care, follow our LED camping light longevity guide.
Simple Runtime Estimator and Examples
| Device | Battery Capacity | Typical Draw | Formula | Expected Runtime |
|---|---|---|---|---|
| Headlamp on 5 lumens | 1200 mAh (milliamp hours) | 30 mA (milliamps) | (1200 ÷ 30) × 0.85 | 34 hours |
| Micro lantern on 20 lumens | 2000 mAh (milliamp hours) | 80 mA (milliamps) | (2000 ÷ 80) × 0.85 | 21 hours |
| Under-table strip dimmed | 10000 mAh (milliamp hours) power bank | 150 mA (milliamps) | (10000 ÷ 150) × 0.85 | 56 hours |
- Use warm filters or amber caps to shift spectrum without buying new gear.
- Enable electronic lockout on headlamps to prevent pocket turn-on and lost charge.
- Favor high CRI (color rendering index) [color rendering index (CRI)] at the cooking station so food colors look right even at low levels.
- Check IP (ingress protection) [ingress protection (IP)] ratings if storms are likely; at minimum, splash resistance keeps optics clear and safe.
How Camp Crew Lighting Helps You Choose Smarter
Most campers feel the trade-off between safety, social time, and starry skies, but you should not have to guess. Camp Crew Lighting specializes in comprehensive reviews of camping lighting products, dark-sky-friendly guidance, and step-by-step how-to guides that remove the noise from shopping. We run head-to-head comparisons with the same protocols we use in the field: measure low-mode stability, verify spectrum, evaluate glare control, and test runtime claims with practical drains. Then we curate recommendations by budget, activity, and group size so you get exactly what you need and nothing that wastes power or pollutes the view. Traditional camping lights can disrupt night vision, consume excessive battery power, produce glare, and degrade dark skies, but our guidance flips that script with warmer spectra, shielding, and dimmers that extend battery life while keeping nights peaceful. Whether you are outfitting a solo bivy or a weeklong basecamp, our tailored setups help you see better and impact less.
Putting It All Together: A Sample Night Layout
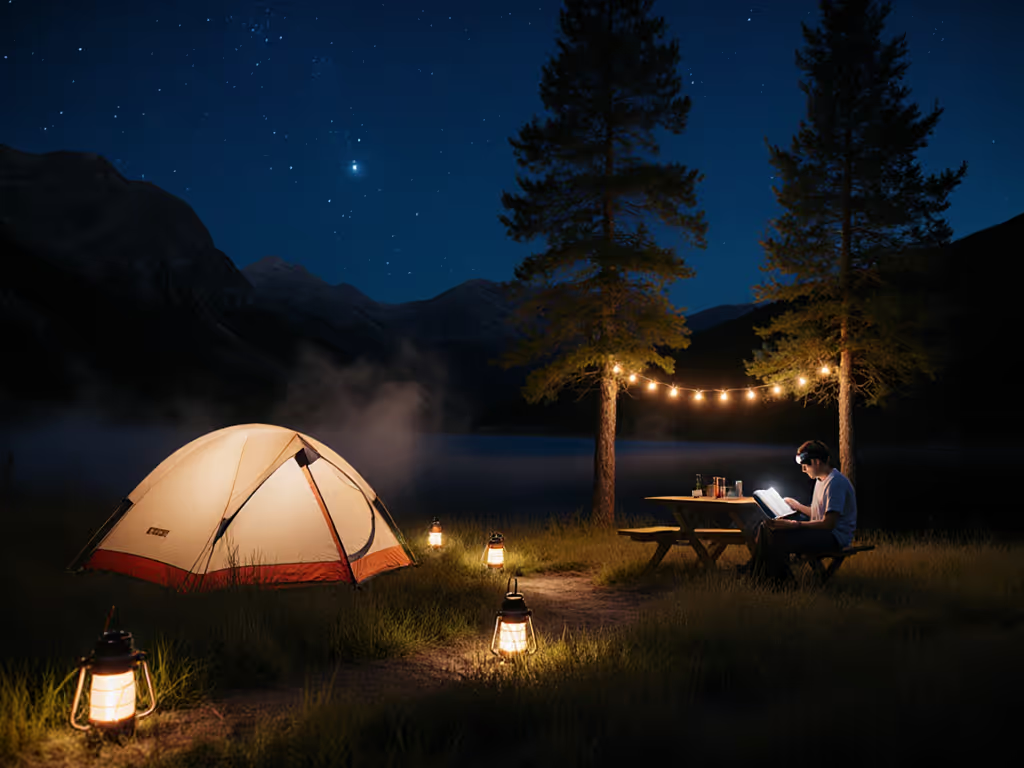
Let us walk through a real-world scenario to see these ideas in action. You pull into a forested campsite at dusk and hang a shielded micro lantern under the picnic table, set to a 2200 kelvin mode at its lowest setting. Two reusable markers clip onto guylines at the tent corners, and a red-mode headlamp sits around your neck for quick tasks. For dinner, a clamp light with a narrow beam points at the cutting board from below eye level, so you can chop without squinting. After 10 pm, path markers shift to motion-triggered mode and everything else dims even further or switches to red. In five minutes, your eyes adapt to a soft, golden scene, conversation flows, and the sky deepens into a quilt of stars. You used under 10 watt-hours total and still feel secure. That is the promise of thoughtful gear and placement: less light, more night.
For reference, here is a quick placement roadmap that mirrors what we recommend in our field-tested kits:
- Tent: one tiny LED (light emitting diode) on a diffuser for reading and organization, red mode post-10 pm.
- Cooking area: clamp task light with hood, angled away from faces and pathways.
- Common area: shielded table lantern under a translucent cover to prevent glare.
- Paths: two to four low markers with full cutoff optics and amber spectrum.
- Backpack/dog: 1 lumen steady beacon while moving, off when settled.
As you refine your kit, keep a simple field note: which lights were too bright, which went unused, and where glare bothered you or neighbors. Small tweaks add up. When your plan feels effortless and batteries last days, you will know you have matched tool to task, not task to tool. That is when your camp becomes a place to settle back, watch firelight flicker, and let night itself do most of the lighting.
Finally, if you care about best practices and want to align with widely cited low-impact standards, target these thresholds: warm CCT (correlated color temperature) at or below 2700 kelvin, zero upward light, motion or timer controls after quiet hours, and the lowest usable output for each layer. Those benchmarks are consistent with guidance used by dark-sky advocates and parks and are embedded into our review scoring and recommendations. With these choices, you significantly reduce environmental impact, improve comfort, and conserve battery reserves for what really matters - more nights out. And if you want confidence before you buy, our comparison tables and curated picks make choosing fast, fair, and evidence-based.
This guide promised practical, field-tested ways to light your camp gently and effectively, and now you have a clear plan. Imagine the next 12 months of trips where your kit is lighter, your batteries last longer, and the constellations return to center stage. What becomes possible for your adventures when your camp glows with intention, your neighbors thank you, and you rely on low impact lighting solutions to see just what you need - and nothing more?
Additional Resources
Explore these authoritative resources to dive deeper into low impact lighting solutions.
- Exploring Eco-Friendly & Sustainable Lighting Solutions
- Environmental Lights: LED Lights, Drivers, Controllers and Custom ...
Elevate Night-Friendly Camping with Camp Crew Lighting
Through comprehensive reviews of camping lighting products, we deliver low impact solutions that preserve night environments, reduce glare, extend battery life, and enhance camping with tailored guidance.
Related Articles