Tent Camping Lights for Stargazing: Technical Guide
By Naoko Sato • 24th Apr
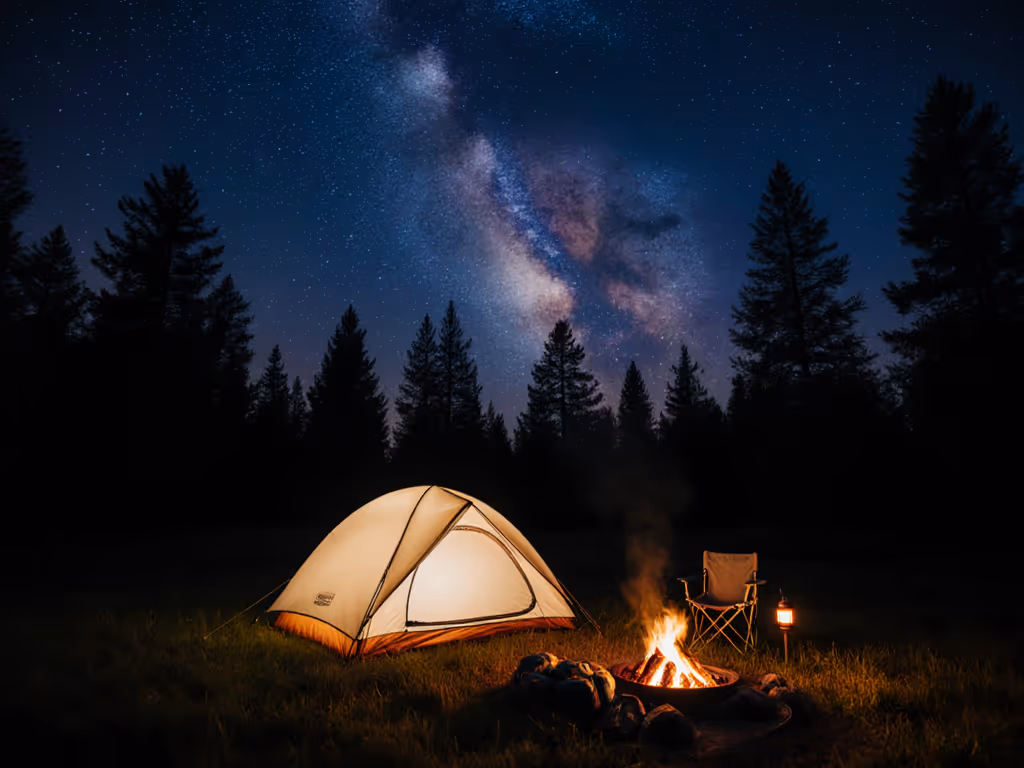
Most tent camping lights arrive at campsites with a hidden cost: the loss of night itself. A bright, cool-white headlamp strapped to your forehead. A lantern casting harsh blue glare across the picnic table. Strings of white LEDs drowning out the stars. These tools were never designed with astronomy in mind (or with the people around them). Building an astronomy-friendly camp lighting system starts with a single shift in perspective: light should serve the night, not replace it.
The Problem with Standard Camp Lights
Off-the-shelf camping lanterns typically deliver brightness through high color temperature LEDs, often 5000K to 6500K or higher. This cool, blue-shifted light is energetic during daylight, but at night it sabotages three critical things your body and eyes need: sleep quality, night vision, and dark-sky visibility.
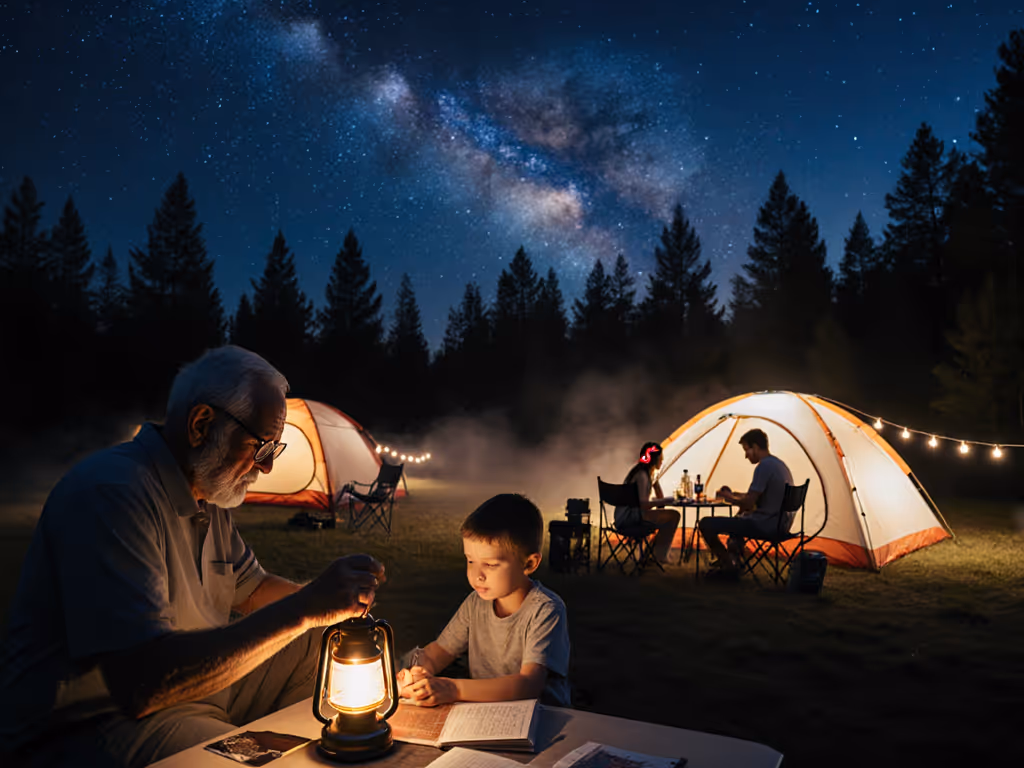
Cool-white light suppresses melatonin production and signals your circadian system that it is mid-afternoon. A toddler waking under a harsh 6500K lantern is not being stubborn; their biology is responding exactly as designed. Swap in warmer optics with careful shielding, and bedtime stabilizes. The stars return. Gentle light makes every voice easier to hear, because your tent mates are not squinting, rubbing their eyes, or fighting their own sleep pressure.
The second issue is beam control. Most mass-market lanterns produce unshielded, omnidirectional light that spills into neighbors' camps and upward into the sky. This contributes to light pollution at popular camping areas and breaks campsite etiquette. It also creates glare that makes it harder to see detail in your own camp and ruins night vision for anyone trying to navigate by starlight.
Technical Foundations: CCT, CRI, and Actual Needs
To design a night sky observation lighting kit, you need to understand two intertwined properties of light: color temperature and color rendering.
Color temperature (measured in Kelvin, or K) describes whether a light feels warm or cool. Daylight is around 5500K. Incandescent bulbs are 2700K. For evening camp use, the range 2700K to 3000K is ideal, warm enough to preserve night vision and support sleep, but bright enough for practical tasks. Below 2700K, colors start to blur together. Above 3000K, you begin losing the dark adaptation benefits.
Color rendering index (CRI) measures how accurately a light reveals true colors of objects. For a deeper dive into color accuracy outdoors, see our CRI for camping guide. A CRI of 90 or above means that cooking gear, first-aid bandages, and map details appear as they actually are. Low-CRI lights (70-80) render reds as muddy and greens as artificial. High-CRI, warm light is not just pleasant, it is functionally necessary for safety and efficiency around camp.
Lumens measure total light output, but lumen count alone misleads. A 300-lumen lantern with poor optics and an unshielded design delivers less usable light to your tent and table than a 200-lumen design with precise beam shaping and a diffuser. With its focused optics and 600-lumen maximum, a lantern like the Goal Zero Lighthouse 600 illuminates an entire camp perimeter effectively. Yet for stargazing and sleep-respecting evenings, you would rarely push it above half power, showing that rated brightness and practical needs are often worlds apart.
Designing Your Tent Camping Lights System
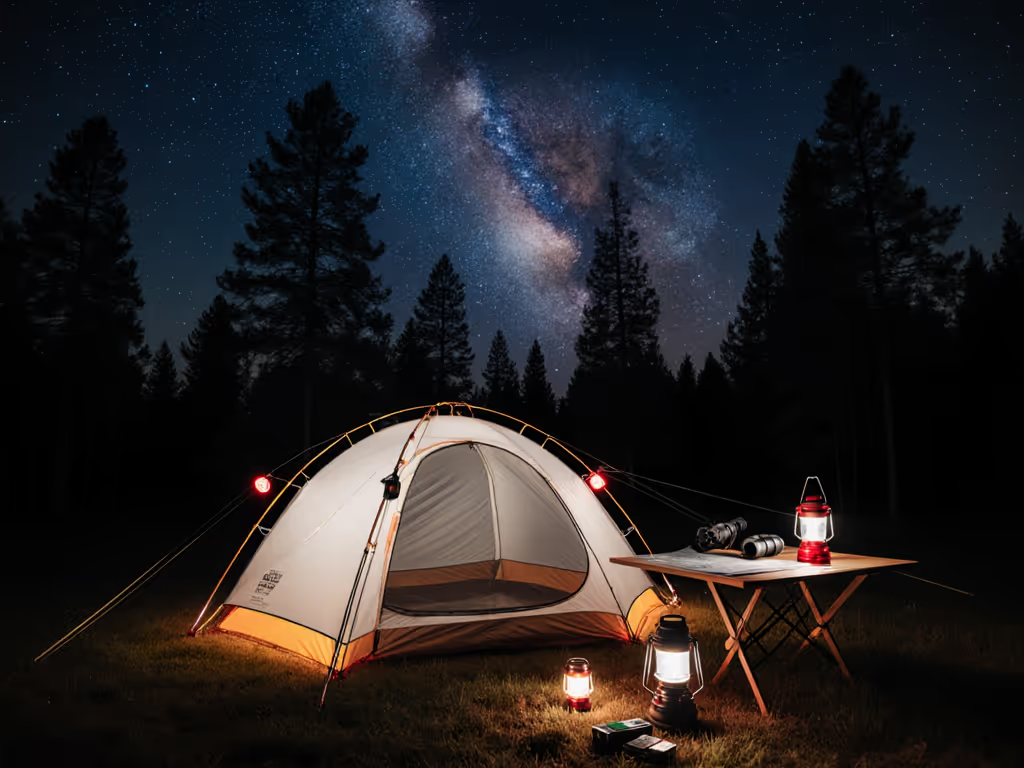
Effective astronomical campsite setup uses layers rather than single luminaires.
Layer 1: Personal task light. A headlamp with deep dimming (reaching below 10 lumens) and instant access to red-mode output. Red light (typically 600-700 nm wavelength) does not trigger the eye's rod cells as aggressively as white light, so night vision recovers faster. Ideally, the UI allows one-button access to red without cycling through white modes. Avoid designs that require five clicks to reach red.
Layer 2: Area light with shielding. A lantern (200-300 lumens when you need full brightness) mounted on a tripod or hung from a tree branch, never set on the ground or table edge where light spills horizontally. Most important: add a simple shade or baffle (even a reflective panel behind the lantern) to direct light down and inward, not sideways or skyward. Many campers rig a 1-2 inch foam or foil shield; this cuts sky pollution by 50-70 percent and noticeably improves perceived darkness outside the lit zone.
Layer 3: Path and marker lights. Low-profile (under 50 lumens), warm-tinted stakes or tape-on markers along the trail from tent to bathroom. These preserve night vision and avoid waking nearby sleepers.
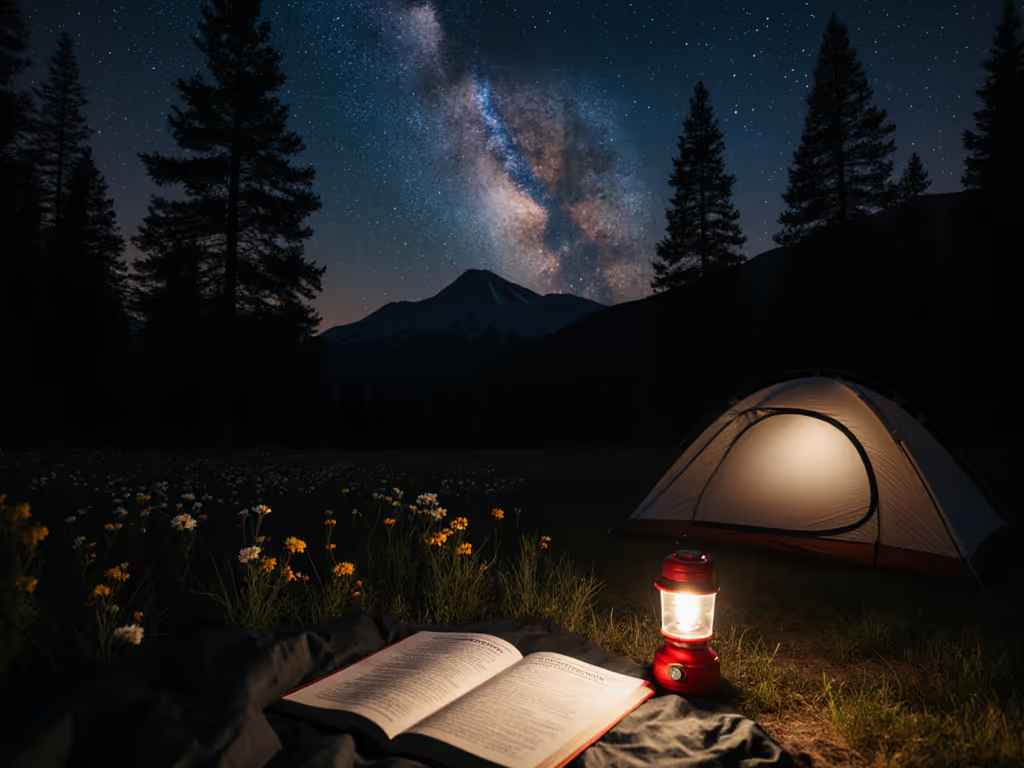
Layer 4: Ambient or social light. Warm string lights or a low-power lantern for reading or conversation early evening, dimmed to 30-50 lumens once the sun sets. This is where light is hospitality: a calm, welcoming glow that supports connection without demanding all attention.
Managing Battery Life and Power
Light pollution reduction techniques start with lumens, but sustained stargazing trips hinge on battery planning. A common error: underestimating runtime across multiple devices.
Calculate your nightly draw:
- Headlamp on red mode, 2 hours per night: 5 lumens × 2 hr = 10 'lumen-hours'
- Area lantern, dimmed to 100 lumens, 4 hours: 100 × 4 = 400 lumen-hours
- Path markers, 6-8 hours: 30 lumen-hours
- Total: roughly 440 lumen-hours per night
Most mid-range lanterns and headlamps carry 3000-5000 mAh batteries. Runtime graphs (when honest) show a 5000 mAh cell delivers roughly 40-60 lumen-hours in warm, low-power modes. For a four-night trip with a headlamp and one area lantern, you would want 1600-1800 mAh reserved as a safety margin.
Use USB-C standard charging across all gear. For lanterns that double as power banks, see our USB power hub lanterns tested. Proprietary batteries and Micro-USB connectors multiply cable clutter and charge-cycle confusion. Request or buy kits with USB-C and standardized 18650 or 21700 cells; these are commodity items with known capacity and availability.
UI and Mode Logic
Intuitive lighting is as important as warm color temperature. A good tent camping lights interface follows this hierarchy:
- One-button power-on to the last-used mode (usually low, warm white).
- Secondary hold for red mode; release returns to warm white.
- Advanced: multi-tap for mid-level brightness (astrophotography often needs dim white for equipment setup).
- Lockout: prevent accidental turbo activation during sleep.
Avoid: flashing, strobe, or pulsing modes; RGB color-mixing; and menu-diving through seven clicks to reach red mode. These complicate camp life and encourage bright-mode laziness.
Campsite Etiquette and Dark-Sky Compliance
Light should serve people and place, never dominate them.
Many parks and dark-sky preserves have lighting rules. To plan ahead, read our national park lighting rules guide. Understand them before you arrive. General practice:
- Shield or baffle all lights so beams do not hit neighboring tents or sky above the horizontal plane.
- Use dimmed light beyond 30 minutes after sunset and before sunrise; switch to red-mode-only after 10 PM.
- No flickering, flashing, or color-changing effects that distract or disturb.
- Communicate with neighbors about your lighting plan, especially on crowded weekends.
A warm, well-shielded 100-lumen lantern is more respectful and effective than an unshielded 300-lumen unit blasting every direction.
Key Takeaways
Tent camping lights optimized for milky way photography lighting and stargazing balance warmth (2700K to 3000K), CRI (90+), layered output, deep dimming, and beam control. Battery planning, intuitive UIs, and thoughtful shielding separate cozy, dark-sky-friendly camps from light-polluted frustration. Test your kit on a backyard overnight before a multi-day trip, measure beam spread and actual dimming range, and label all batteries and cables.
Spend one stargazing night under a truly dark sky with proper red-mode lighting; the experience will clarify why this technical foundation matters. Light is hospitality, and generosity begins with darkness. As you build your system, prioritize depth of dimming and warmth over peak brightness, and trust that the best camp light is one that lets you see the stars, sleep soundly, and hear your friends laugh without squinting.
Further Exploration
Consider tracking your actual power consumption across a test trip and spreadsheet your runtime versus real-world modes and conditions. Read published CRI measurements and beam-pattern reviews from testing labs; manufacturer specs are notoriously inflated. Join online communities and forums sharing dark-sky camp lighting setups. Experienced backpackers and night photographers have battle-tested configurations that reveal what works across seasons and geographies. Experiment with DIY shielding (foam, mylar, foil panels) to minimize spill and measure the difference yourself. Finally, keep a simple logbook of your lighting decisions across trips: which modes you actually used, how long batteries lasted, and what you would change next time. This iterative approach transforms camping from guesswork into mastery.
Related Articles