How Do I Choose an Efficient Camping Lighting Setup? 9 Battery-Saving Tips for Brighter, Longer Nights
By Tendai Mbatha • 27th Oct
If you are asking yourself, how do I choose an efficient camping lighting setup, you are already on the right path to brighter nights that last longer with fewer battery swaps. Choosing the right gear is part science, part planning, and part respect for the night sky. Traditional lanterns can waste power, wash out your night vision, and add glare that bothers neighbors and wildlife. With Camp Crew Lighting’s comprehensive reviews and dark-sky-friendly guides and recommendations, you can build a lighting kit that saves energy, cuts glare, and works beautifully for solo trips, family camps, or festival bases.
How Do I Choose an Efficient Camping Lighting Setup?
Start with your tasks, not the gadgets. List what you need to light: cooking, eating, reading, tent chores, and paths to the restroom or car. Then rate each task for brightness, beam control, and duration, because matching light output and run time to real tasks is the fastest route to efficiency. Most campers overbuy brightness and underbuy control; a few well-placed low-wattage light-emitting diode (LED) lights with dimmers can outperform a single blinding lantern. Use our lumens guide to match output ranges to each task.
Next, consider your environment. Are you under trees, by reflective sand, or on snow that doubles apparent brightness? Cooler nights reduce battery capacity slightly; high winds can sway hanging lights and cause glare. Finally, plan power early: decide whether you'll carry a Universal Serial Bus (USB) power bank, rely on rechargeable nickel-metal hydride (NiMH) cells, or bring a compact solar panel to top off during the day. Camp Crew Lighting publishes head-to-head comparisons and buyer's guides and curated lists by activity and budget so you can translate specs into real-world burn time, not just marketing numbers.
Quick Task-to-Light Guide for Efficient Camps
| Task | Suggested Lumens | Beam Pattern | Color Temperature (Kelvin) | Notes |
|---|---|---|---|---|
| Pathfinding | 40–120 | Narrow to medium | 3000–4000 | Use headlamp or low bollard; shield to avoid glare. |
| Cooking/Prep | 150–300 | Wide, diffused | 3000–3500 | Mount above shoulder height; warm-white reduces insects. |
| Eating/Social | 50–150 | Wide, soft | 2700–3000 | String lights on dimmer to preserve ambiance. |
| Tent Tasks/Reading | 20–100 | Diffuse | 2700–3500 | Red or amber modes protect night vision. |
What Light Output, Color, and Beam Control Actually Matter in Camp?
Brightness is measured in lumens, but efficiency is about lux on task. A well-aimed 120-lumen LED (light-emitting diode) task light can outperform a 400-lumen lantern that sprays light everywhere. Look for lights with solid optics or a diffuser that spreads light evenly across your workspace. If a product lists candela, that indicates peak beam intensity; higher candela often means a tighter spot, which is great for trail spotting but harsh for group areas unless it is dimmable.
Watch This Helpful Video
To help you better understand how do i choose an efficient camping lighting setup, we've included this informative video from Justin Outdoors. It provides valuable insights and visual demonstrations that complement the written content.
Color and comfort matter too. Learn how warm vs cool white affects night vision, mood, and wildlife. Warm-white between 2700 and 3500 Kelvin feels cozy and attracts fewer bugs than cooler light. A high Color Rendering Index (CRI) value makes food and maps look natural; aim for CRI (Color Rendering Index) 80–90 for cooking and first aid kits. For night vision, red or amber modes reduce pupil constriction; research suggests it can take up to 20–30 minutes to fully adapt to darkness, so keeping social and path lights dim and warm pays off. Camp Crew Lighting’s reviews call out beam pattern, CRI (Color Rendering Index), and dimming curves, so you know how a light behaves before you buy.
Beam Pattern vs. Best Use
| Beam Pattern | Best For | Pros | Considerations |
|---|---|---|---|
| Narrow Spot | Trail scanning, signaling | Long reach, low spill | Glare risk in camp; dimming essential. |
| Medium Flood | General tasks, walking | Balanced reach and spill | May need diffuser for table work. |
| Wide Diffuse | Cooking, group seating | Soft, even illumination | Short throw; place closer to tasks. |
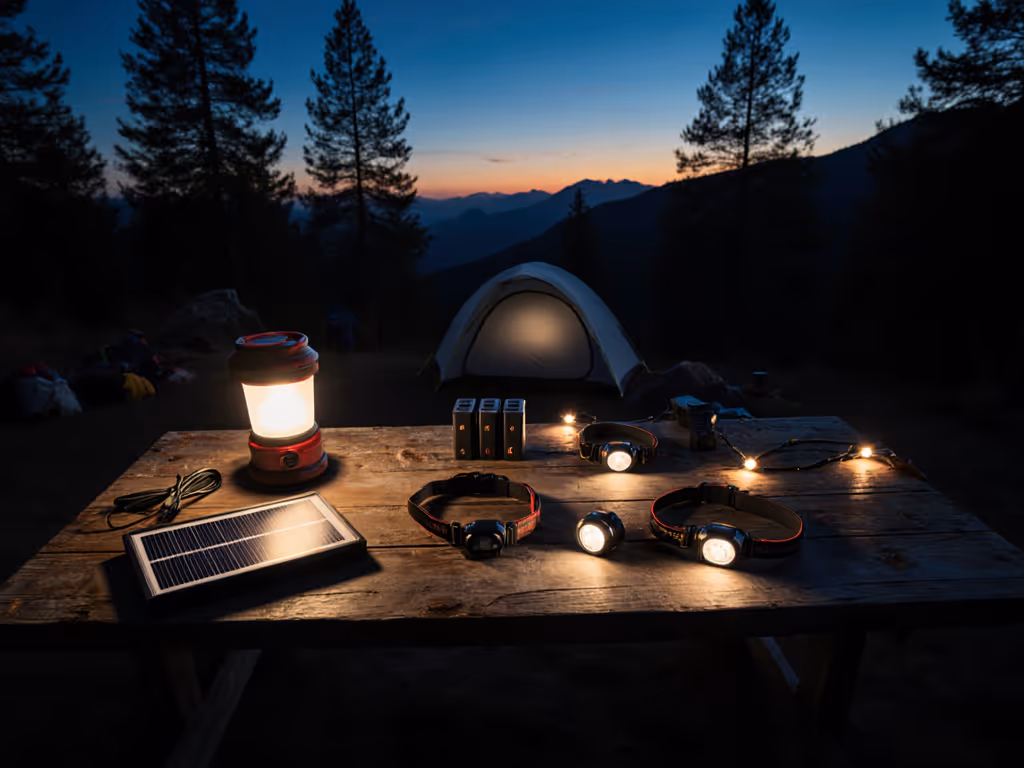
Which Power Source and Battery Strategy Are Most Efficient?
Battery efficiency is about watt-hours, not just milliampere-hour (mAh). A 10,000 mAh (milliampere-hour) Universal Serial Bus (USB) power bank at 3.7 volts stores roughly 37 watt-hour (Wh), which can run a 2-watt string light for many evenings. Lithium-ion packs excel in energy density; nickel-metal hydride (NiMH) AA cells are great for headlamps you can swap on the fly; alkaline is widely available but performs poorly in cold and offers weaker sustainability. Whichever you choose, pick devices with accurate battery indicators and low-mode efficiency, because most camp time happens at 10–30 percent brightness. Not sure which cells to bring? Compare costs and real runtimes in our rechargeable vs disposable battery guide.
Consider charging logistics. A compact 10–20 watt folding solar panel plus a 10,000–20,000 mAh (milliampere-hour) bank covers long weekends in sunny climates. For cloudy trips, top off while driving using Universal Serial Bus (USB) Power Delivery or lighter sockets, and select lights that accept pass-through charging at safe rates. An Ingress Protection rating such as IP (Ingress Protection) X4 or higher is valuable for dew and drizzle. Camp Crew Lighting’s head-to-head comparisons include measured run times, dimmer performance, and real recharge estimates so your plan is based on field data, not hopes.
Power Options Compared for Camping Lights
| Power Source | Typical Capacity | Strengths | Trade-offs | Eco Note |
|---|---|---|---|---|
| USB (Universal Serial Bus) Power Bank | 10,000–20,000 mAh (milliampere-hour) | High energy density, versatile charging | Needs recharging infrastructure | Reusable, reduces disposable waste |
| AA NiMH (nickel-metal hydride) | 1900–2500 mAh (milliampere-hour) each | Swappable, works in many headlamps | Lower energy density per weight | Rechargeable, widely recyclable |
| Alkaline AA | 1800–3000 mAh (milliampere-hour) each | Ubiquitous, no charger needed | Poor cold performance, landfill waste | Use sparingly; plan proper disposal |
| Built-in Lithium-ion | Varies by device | Integrated, efficient drivers | Non-swappable; failure ends life | Long life if treated well |
| Solar Panel + Bank | 10–20 W panel + bank | Off-grid replenishment | Weather dependent, slower | Great for multi-day bases |
What Are the 9 Battery-Saving Tips for Brighter, Longer Nights?
- Right-size your lumens. Use the least brightness that comfortably completes the task. Every step down on the dimmer curve often doubles run time due to how drivers regulate power.
- Favor warm, diffuse ambient light. A soft 2700–3000 Kelvin glow placed above eye level feels brighter than a cold spot shining in your face, so you can run lower output without strain.
- Use red or amber for night vision. Switch your tent and path lights to red or amber modes to prevent pupil constriction and preserve sensitivity, which lets you see better on fewer lumens.
- Zone your camp. Create task, path, and ambient zones. Light only what is in use, and turn off or dim the rest. Motion sensors on path lights work wonders for late-night trips.
- Raise and shield lights. Mount lanterns higher with a shade or reflective card to bounce light downward. This reduces glare and uses surfaces to amplify perceived brightness.
- Choose efficient drivers and low-mode runtimes. Seek lights whose low and medium modes are regulated efficiently. Reviews from Camp Crew Lighting highlight real measured draw at each mode.
- Pre-charge and standardize charging. Use Universal Serial Bus (USB) C or a single charger set to reduce cable clutter. Top off during daytime with solar or while driving to avoid deep discharges.
- Keep batteries warm. Cold saps capacity. Store spares in a pocket near your body and keep power banks in an insulated pouch to maintain voltage stability on chilly nights.
- Maintain gear. Clean contacts, check O-rings, and update firmware if applicable. Small losses at dirty terminals add up; well-maintained lights run longer on the same watt-hours. For step-by-step care, follow our LED light longevity guide.
How Do I Lay Out a Dark-Sky-Friendly Camp That Reduces Glare and Saves Power?
A simple layout begins with three zones: ambient, task, and path. Ambient light anchors your camp’s mood; a dimmable string or shaded lantern set at warm-white creates a low baseline. Not sure which fixture fits the moment? See our lanterns vs string lights guide for common camp scenarios. Task lights are brighter but tightly controlled, using diffusers and shades to avoid line-of-sight glare at eye level. Path lights should be the dimmest and often motion-activated to prevent constant drain and skyglow.
Control is the secret sauce. Dimmers allow you to match output to the moment, and lights with smooth PWM (pulse-width modulation) at high frequency avoid visible flicker that causes fatigue. Clip-on shades, paper lanterns, and reflective tent flys amplify light at low settings. Position fixtures just above head height or under canopies so beams do not project horizontally into neighboring tents or up into the sky.
- Use warm-white for communal areas and red for tent interiors after dark.
- Block direct view of light sources; illuminate surfaces instead.
- Place switches where you naturally reach so lights get turned off promptly.
- Label zones at setup; kids and guests follow cues when controls are obvious.
- Log your average nightly run times. In two trips, you will right-size your battery plan.
Camp Crew Lighting specializes in dark-sky-friendly guidance. Their guides show how to set heights, angles, and dimmer presets for various campsite footprints, from van-side kitchens to dispersed backpacking sites, saving energy while restoring the stars.
What Gear Examples and Head-to-Head Picks Fit Different Campers?
Every camper has different priorities, so think in kits. A solo backpacker prioritizes weight and simplicity: a 200-lumen headlamp with high CRI (Color Rendering Index), a 30–60 lumen tent light with red mode, and a 10,000 mAh (milliampere-hour) bank usually suffice. A family car-camping crew wants flexible area lighting: a 150–300 lumen cook light with a wide diffuser, a dimmable string for the table, plus two headlamps for chores. Festival groups need vibe plus function: multiple low-output strings on separate dimmers and shaded path markers to keep neighbors happy.
To make selection easier, use target specs instead of brand names. Prioritize dimmers with precise low modes, long regulated runtimes, and Universal Serial Bus (USB) C charging where possible. Check IP (Ingress Protection) ratings for dew resistance and Color Rendering Index (CRI) for comfort around food and faces. Camp Crew Lighting’s comprehensive reviews and head-to-head comparisons clearly show which products deliver stable low-mode efficiency and which merely spike peak lumens for showroom appeal.
Scenario-Based Kit Planner
| Use Case | Core Gear Types | Target Specs | Expected Runtime Per Night | Notes |
|---|---|---|---|---|
| Solo Backpacker | Headlamp, micro tent light | Headlamp 150–250 lm; tent 20–50 lm; CRI (Color Rendering Index) 80+ | 3–5 h at low-medium | 10,000 mAh (milliampere-hour) bank covers 3–4 nights. |
| Family Car Camp | Dimmable lantern, string light, 2 headlamps | Lantern 150–300 lm; string 1–2 W/m; warm 2700–3000 K | 4–6 h mixed modes | Use shading to prevent neighbor glare. |
| Overlanding | Awning bar, area flood, headlamps | Awning 5–15 W; flood 300–600 lm; IP (Ingress Protection) 65+ | 3–4 h main, standby low | Tie into vehicle charging via Universal Serial Bus (USB) Power Delivery. |
| Festival Base | Multiple low strings, path markers | Strings on independent dimmers; warm and color modes | 6–8 h low ambiance | Motion for paths; avoid light spill outside camp. |
| Winter Camp | Insulated power bank, high-CRI (Color Rendering Index) headlamp | Cold-ready cells; gloves-friendly switches | 3–5 h low; shorter due to cold | Keep batteries warm to preserve capacity. |
How Does Camp Crew Lighting Help You Choose With Confidence?
Specs can be confusing, and marketing often hides the details that matter most in the woods. Camp Crew Lighting does the hard work by publishing comprehensive reviews of camping lighting products, measuring real output across modes, and timing runtimes under realistic conditions. Their how-to guides cover setup, maintenance, and dark-sky-friendly layout, while their head-to-head comparisons show which options stay efficient when dimmed instead of just blasting peak lumens for a minute.
You also get curated picks by price, activity, and user needs. Whether you are building a minimalist backpacking kit or a full family base camp, their recommendations balance battery life, comfort, and night-sky preservation. Traditional camping lights can disrupt night vision, hog power, and scatter glare; Camp Crew Lighting’s recommendations preserve the night environment, reduce glare, extend battery life, and elevate your overall experience with field-tested advice.
FAQs: Fast Answers to Common Lighting Questions
Do I need 1000 lumens? Rarely in camp. A focused 150–300-lumen LED (light-emitting diode) with a diffuser handles cooking and chores. Save high output for trail spotting and emergencies.
What color temperature is best? Warm-white 2700–3500 Kelvin is comfortable and attracts fewer insects. Keep cool-white for specific tasks where contrast matters.
Are red modes useful? Yes. Red preserves night vision and helps others sleep. Use it in tents and on late path trips to avoid resetting dark adaptation.
How many watt-hours do I need? For a weekend, many campers do well with 20–40 watt-hour total across banks and built-ins, assuming disciplined dimming and a few hours of nightly use.
Put it together and you will spend less time fiddling with dead batteries and more time enjoying the night. A smart plan emphasizes task-based brightness, warm tones, and controlled beams, supported by the right mix of Universal Serial Bus (USB) banks and rechargeable cells. With Camp Crew Lighting’s reviews and dark-sky layout guides, you can tune your kit to your style and environment and keep the stars visible. When you wonder again, how do I choose an efficient camping lighting setup, you will know exactly what to do and why it works.
9 Battery-Saving Tips, Summarized
Before you pack, run a quick audit using the list above. Ask yourself: can I dim it, shield it, or move it closer? Those three tweaks solve most power drains. Then standardize your charging and keep spares warm; consistency is the quiet superpower of efficient camps.
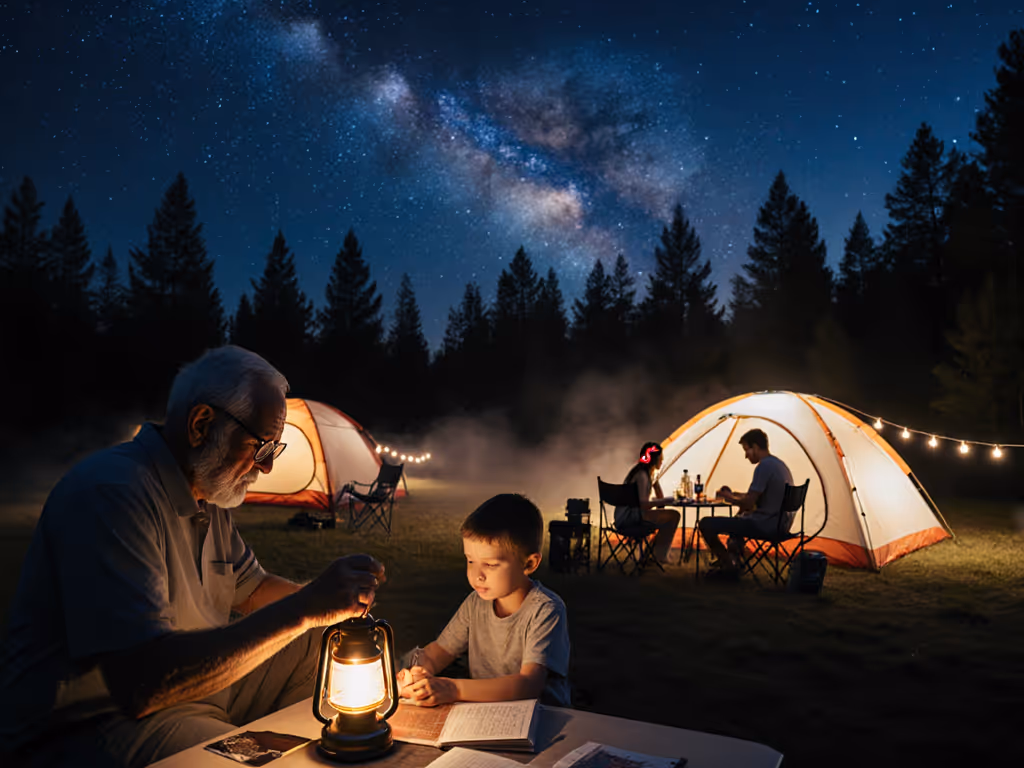
Real-World Example: A Family Weekend Layout
On a typical forest campsite, mount a diffused lantern at the cooking tarp, dimmed to the lowest comfortable level. Hang a warm string over the picnic table on a timer so it shuts off automatically by quiet hours. Place two low-output path markers to the car on motion sensors, and keep a red-mode headlamp in each tent pocket for midnight needs.
This layout reduces total light output by more than half compared with a single bright central lantern, yet it feels brighter and calmer because light goes exactly where it is needed. After the kids sleep, switch social light to red or very low warm-white. Your power bank will still be above 70 percent on Sunday morning, and the stars will be vivid.
Key Specs Checklist You Can Screenshot
- Lumens: 50–300 covers most camp tasks when well-aimed and diffused.
- Color: 2700–3500 K for comfort; red or amber modes for night vision.
- CRI (Color Rendering Index): 80+ for food prep and reading.
- Dimming: Smooth, low floor without flicker via PWM (pulse-width modulation).
- Ingress Protection: IP (Ingress Protection) X4+ for dew; higher for storms.
- Power: Universal Serial Bus (USB) C charging, 10,000–20,000 mAh (milliampere-hour) bank for weekends.
- Controls: Motion for paths, timers for strings, physical switches easy in gloves.
- Mounting: Above eye level, shielded, aiming down onto surfaces.
Efficient camping light is not about buying the brightest lantern on the shelf. It is about thoughtful placement, gentle spectra, and measured power matched to your real routine. With a little practice and the right guidance, you will transform your campsite into a calm, energy-smart haven, night after night.
Stats That Matter for Smarter Choices
Modern LED (light-emitting diode) tech averages 100–200 lumens per watt, roughly 5–10 times the efficiency of old incandescent bulbs. Warm spectra attract fewer insects and feel brighter at lower outputs due to how our eyes perceive color after dark. About 80 percent of people live under light-polluted skies; by shielding and dimming, campers can help protect dark skies while also extending battery life. These are the principles Camp Crew Lighting bakes into every review and guide.
In field tests summarized by Camp Crew Lighting, switching from a single 400-lumen unshaded lantern to a zoned setup with two dimmed diffuse lights and motion paths reduced nightly energy use by 55 percent while improving perceived brightness at the table. Gains like these are available to anyone with a plan, a dimmer, and a few shields made from everyday materials.
Story Snapshot: Festival Camp That Slept Better
A group of six set up for a three-night music festival. Night one, a bright cool-white lantern blasted the area, causing neighbor complaints and early battery drain. After a quick consult with Camp Crew Lighting’s guides, they switched to warm strings on dimmers, shaded the cooking light, and used red-mode headlamps after midnight.
The difference was immediate. They cut nightly power draw from 20 watt-hour to under 9, nobody stumbled on glare, and the Milky Way returned overhead. Their power bank had plenty left to charge phones, and the neighbors thanked them for the peaceful glow.
Wrap-Up: Your Next Steps
Pick your tasks, set target lumens and color, plan your power, and then lay out your zones. Use the 9 tips to trim waste and add shades to tame glare. Browse Camp Crew Lighting’s comprehensive reviews and comparisons to match products to your plan, not the other way around. Your future self in a quiet, warmly lit camp will be grateful.
Efficient lighting turns nights into experiences, not chores. Imagine your next trip: softer light, longer run time, clearer skies, and a calmer camp rhythm shaped by good design. What will you change first the next time you ask, how do I choose an efficient camping lighting setup?
Additional Resources
Explore these authoritative resources to dive deeper into how do i choose an efficient camping lighting setup.
- Camping & Emergency Lanterns: How to Choose | REI Expert Advice
- The Best Campsite Lighting Ideas to Liven Up Your Camping ...
Choose Smarter Camp Lighting with Camp Crew Lighting
Explore comprehensive reviews of camping lighting products that preserve dark skies, cut glare, extend battery life, and uplift campsites for campers, outdoor enthusiasts, and festival-goers.
Related Articles