Dispersed Camping Lights: Leave No Trace Guide
By Sofia Alvarez • 4th Apr

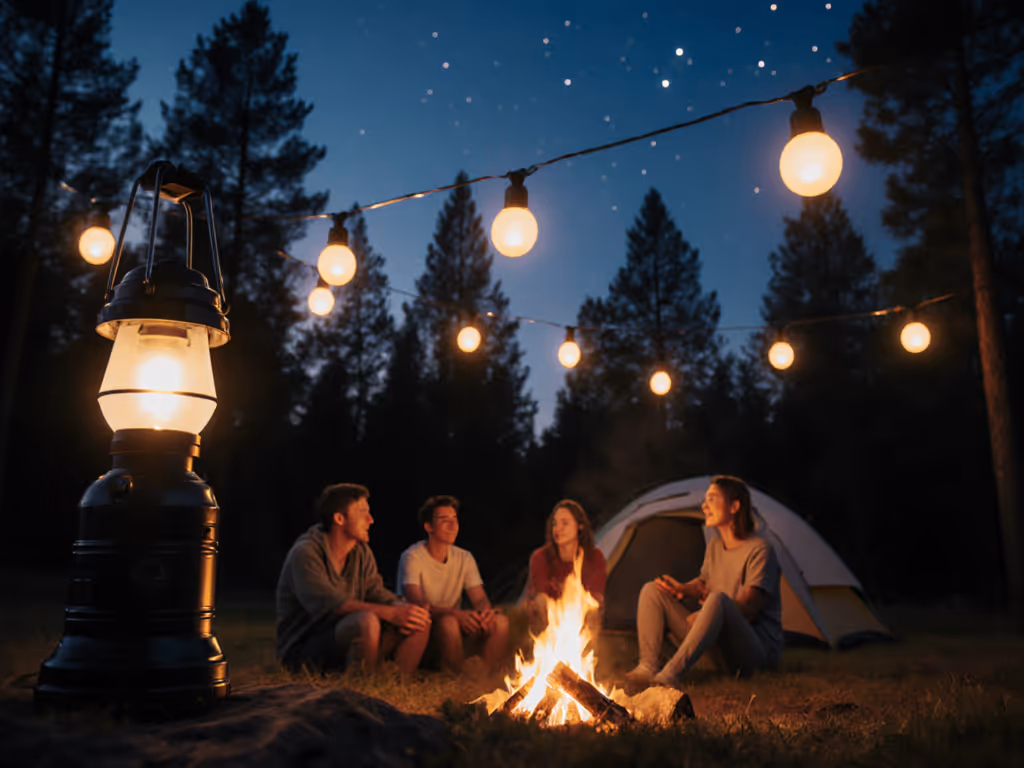
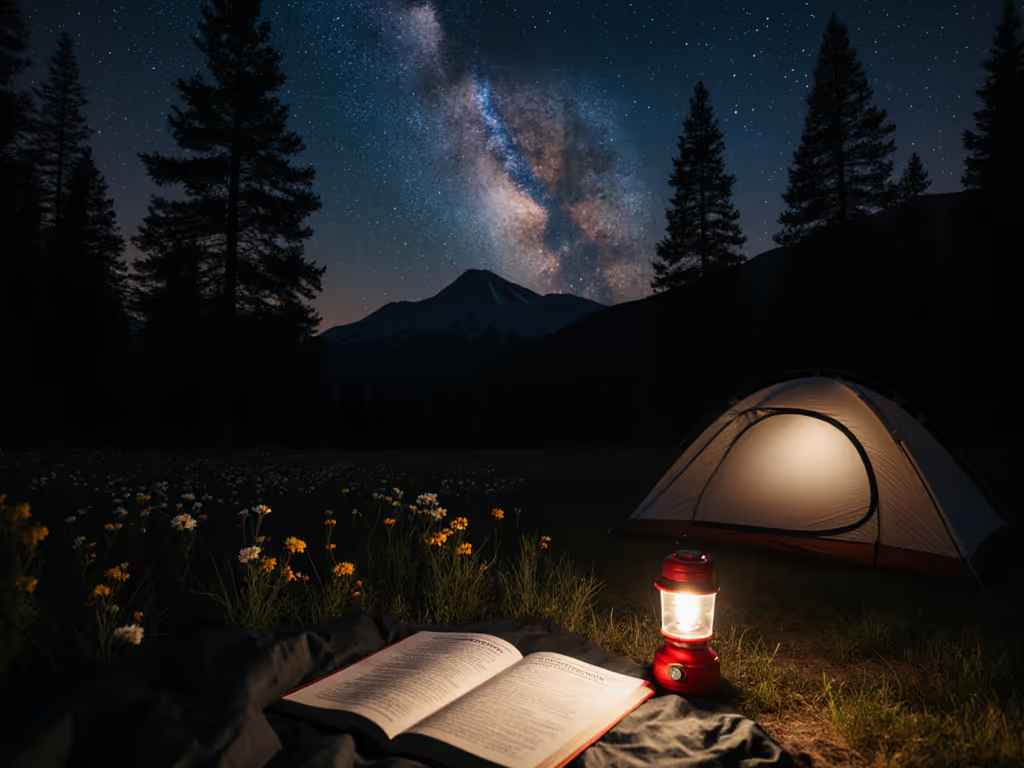
Tent camping lights don't need to be complicated, but they do need to work as a system. Most campers show up with mismatched gear: a headlamp that's never charged, a lantern that glares like a stadium light, and a string of battery-powered lights that died three hours into the first night. The result isn't just inconvenience; it's poor neighbors and wasted power. A thoughtful leave no trace lighting approach starts with one principle: light should go where it's needed, not where it blinds others. That restraint, applied to your entire kit, transforms how your camp feels and how responsibly you occupy shared land.
The Leave No Trace Mindset for Lighting
Leave No Trace is often understood as minimal footprints underfoot. But light pollution (the uncontrolled, outward-spilling glow from your tent or table) is a form of impact too. Learn practical ways to reduce battery waste and glare in our eco-friendly camping lights guide. When your lantern washes out the Milky Way, disrupts the sleep of campers two sites over, or confuses nocturnal wildlife, you've left a trace in the sky.
Campsite lighting that respects this ethic does three things:
-
Directs light downward and inward. A shaded lantern or a hooded headlamp keeps photons where you need them (on your food prep, your book, your trail), not scattered across the forest canopy or your neighbor's tent wall.
-
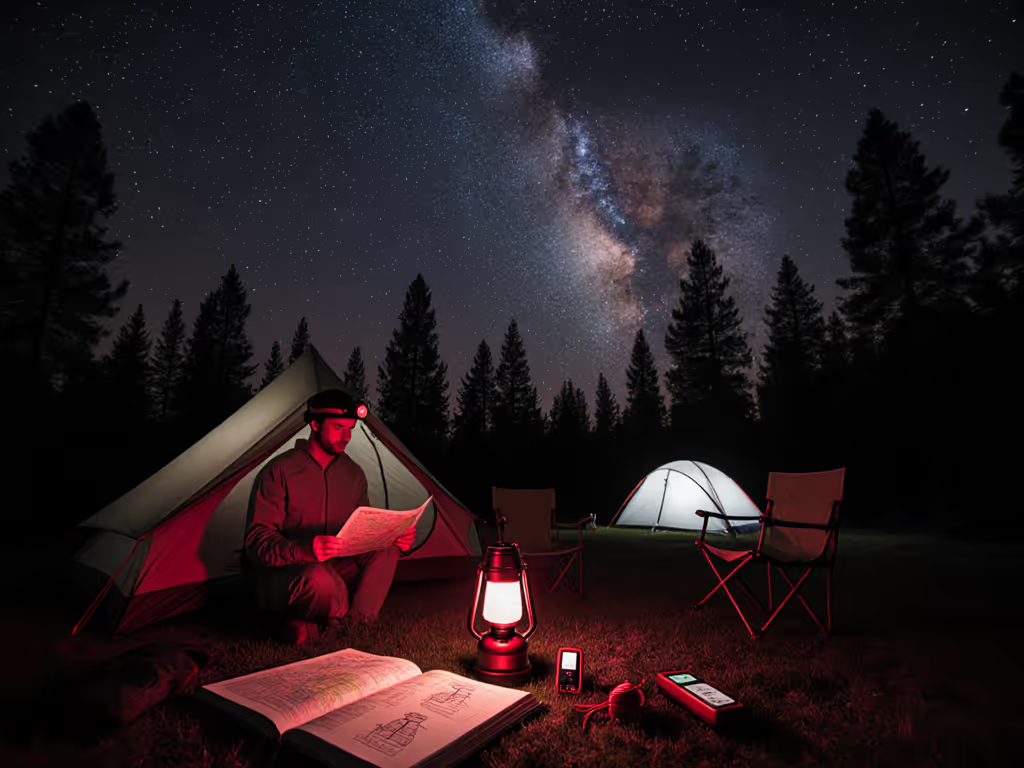
Dims deep. A lantern stuck at 50% brightness is still too bright after midnight. Lights that reach 10 lumens or lower, or shift to red wavelengths, let your eyes stay adapted and help others sleep.
-
Uses warm color temperatures. The brass lantern my grandfather carried to every picnic table gave off warmth (not just lumens), and that texture mattered. Modern high-CRI, warm-white LED lights (2700 K or lower) render food, faces, and first-aid colors honestly while feeling gentler on the eyes and the night.
Planning Power: Battery Strategy as Design
Wilderness lighting techniques begin before you leave home. Most campers fail at power planning, not light selection. You end up with a dead lantern on night three because nobody did the math.
Start with a trip inventory. How many nights? How many people? What's your camp rhythm (late-night cooking, early rising, kids' bedtime routines)? Then assign lights by role:
- Headlamp or handheld: Task and path light. Typically 20 to 100 lumens; used in bursts and short runtimes.
- Camp lantern: Area light for the table or center of camp. Usually 100 to 300 lumens at full, but you'll dim it to 50 lumens or less most of the time.
- Tent light: Subtle overhead glow, 10 to 30 lumens, often dimmable.
- Path or marker lights: Subtle ground-level guidance, under 10 lumens, often red or deep warm.
Next, calculate battery hours. If you're unsure how bright each task really needs to be, start with our lumens camping guide to match output to activities. If your headlamp runs 15 hours at 50 lumens, and you're out for five nights using it 2 hours per evening (10 hours total), you have a 5-hour buffer. If your lantern runs 20 hours at 100 lumens but you're running it at 30% brightness for 4 hours each night (16 hours total), you're cutting it close. Standardize on USB-C rechargeable cells (18650 or 21700 lithium) or a centralized power bank if dispersed camping allows electronics recharging. The single-cable ecosystem matters; backcountry lighting etiquette starts with not asking your neighbors if you can borrow batteries.
Warm Light and High CRI: Why Color Matters
Many camping lights ship at 4000 to 5000 K because higher lumens sell. This is a mistake. Cool light cooks your night vision, looks harsh on skin, and suppresses melatonin, making sleep harder, especially for children. It also renders food and first-aid scenarios poorly; a red tint on someone's injury looks different under 5000 K than it does in daylight, creating false urgency or missed detail.
High-CRI warm light (2700 K or lower, CRI 90+) is not a luxury; it's functional. A 2700 K, 90+ CRI lantern at 75 lumens will feel brighter than a cool 5000 K at the same output because it renders the landscape and your camp's surroundings with true color saturation. Your pupils don't dilate as much. Cooking tasks are easier. The camp feels human, not clinical.
Many manufacturers list CRI vaguely or not at all, pairing broad lumen claims with no spectral data. Skepticism is warranted. Look for tested reviews that include tint photographs or CCT measurements, not just marketing language.
Shielding, Diffusion, and Beam Control
Minimalist camp lighting is not about darkness; it's about intentionality. For choosing ground-level markers versus overhead strings, see our pathway lighting vs string lights comparison. Shielding redirects light, diffusion spreads it evenly, and beam control prevents glare.
A lantern with a transparent globe spills light everywhere. A lantern with a shroud, vanes, or a matte diffuser keeps light on your table and away from the treeline. Headlamps with reflectors that can be adjusted (narrow vs. flood) let you switch modes without cranking down brightness. Red-lens flip-ups or red-emitter secondaries are faster than fumbling with mode cycles when you're trying to preserve night vision.
Mounting matters. A lantern hung at shoulder height creates a hotspot overhead and casts long shadows on your cooking surface. Hung lower, or set on a table with a reflector cup underneath, light bounces up to your hands and food, not into the air. Adhesive cable clips, small magnets, or carabiners let you adjust positioning without gear designed for one scenario.
This is where repair beats replace becomes visible. If repairability is a priority, check our repairable tent camping lights picks. Lights with replaceable diffuser covers, rechargeable cells in standard sizes, and fasteners you can open (without voiding warranty) stay useful across trips. A lantern with a cracked globe isn't garbage if you can swap in a new lens; one with a sealed, glued-on dome becomes e-waste.
Warm-Up and Cold Reality
Lithium cells (18650s, 21700s, and most USB-C rechargeables) lose 15 to 30% of their capacity in cold weather. A cell rated for 3000 mAh at 70°F delivers 2100 to 2550 mAh at 35°F. Most manufacturers don't mention this, so your runtime estimates should carry a 20% penalty if winter camping. Keep cells in an insulated pouch or close to your body at night. Alkaline cells hold up better in extreme cold but are single-use and heavy for multi-week trips.
Condensation and moisture are separate hazards. A light brought from a warm tent into 40°F night air condenses rapidly. Warm cells inside, cold air outside, and a metal reflector can create a lens of condensation on the optics. Use your lights, then let them dry before storing; run a desiccant packet in your lighting kit bag if you're camping in wet climates.
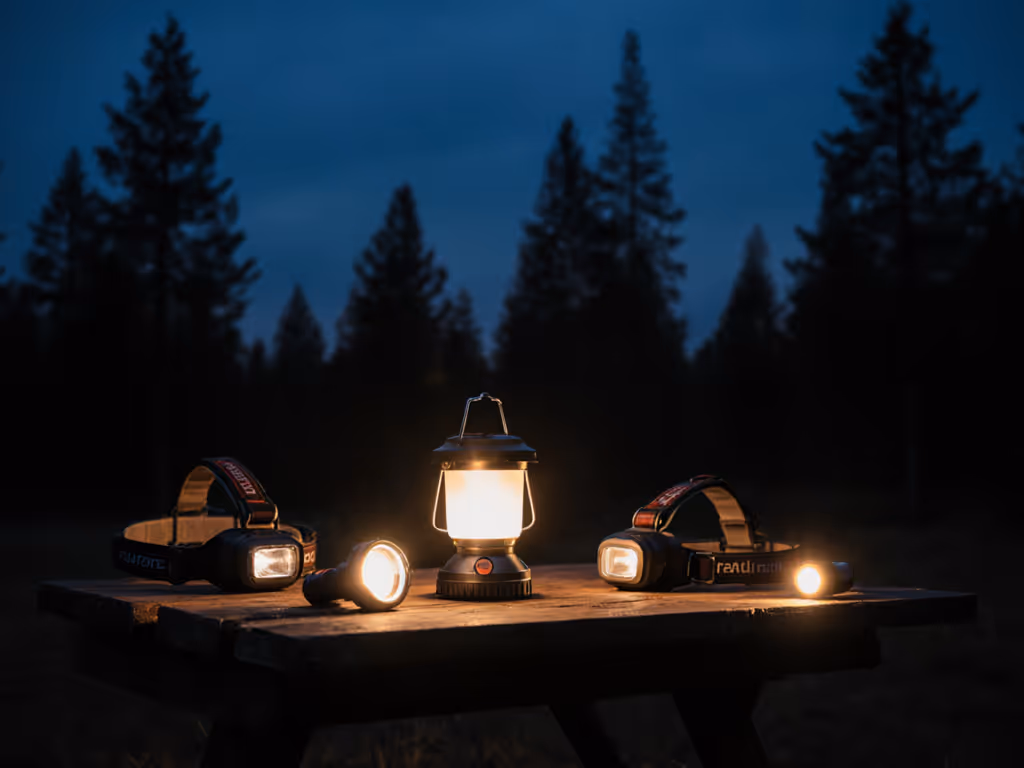
Layering Lights: A Kit Approach
Design you barely notice is doing its best work. A well-paired lighting kit feels invisible because each light has one clear job and doesn't step on the others.
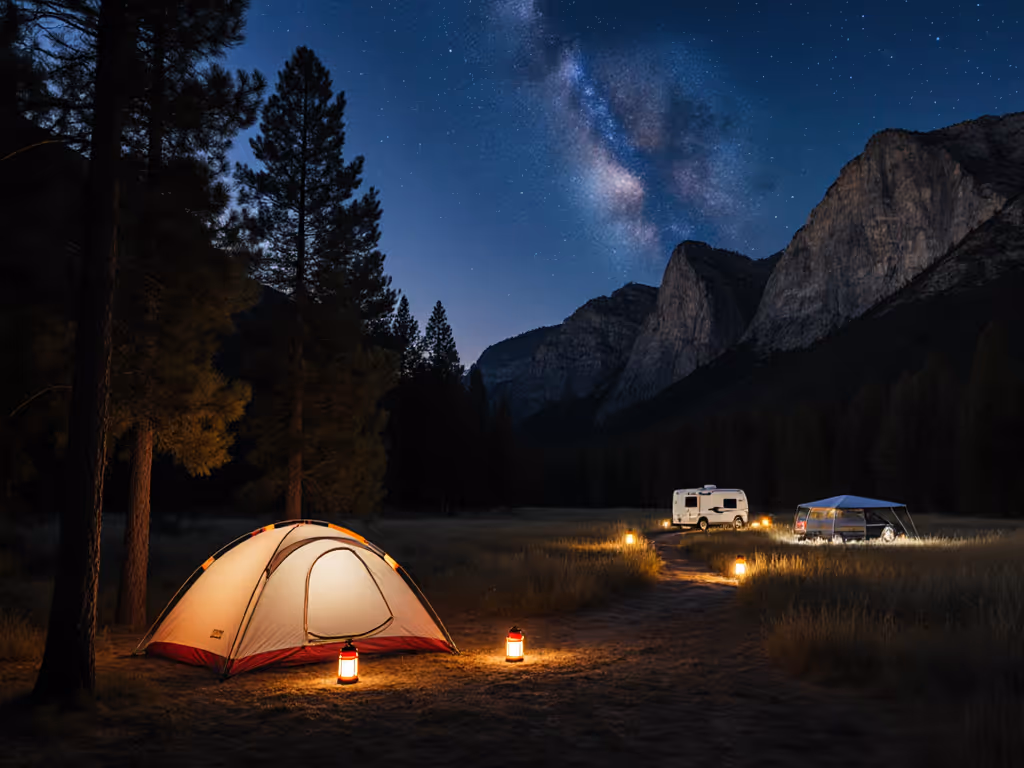
For a typical three-night backcountry car camp or dispersed site with two to four people:
- One headlamp (warm, dimmable, 20 to 100 lumens, 18650-powered): path light and task backup.
- One lantern (warm, 100 to 200 lumens, dimmable to <20 lumens, USB-C recharge): table or center-camp light.
- One small tent light or string (10 to 20 lumens, warm, low-cost): cabin glow for waking, navigation, tent setup.
- One backup light (red-mode headlamp or red emergency stick): navigation after lights-out, if needed.
- Power: One 10,000 to 20,000 mAh USB-C power bank (shared or personal depending on group), charged before the trip. Two sets of 18650 cells if lights use them, labeled and tested for health before packing.
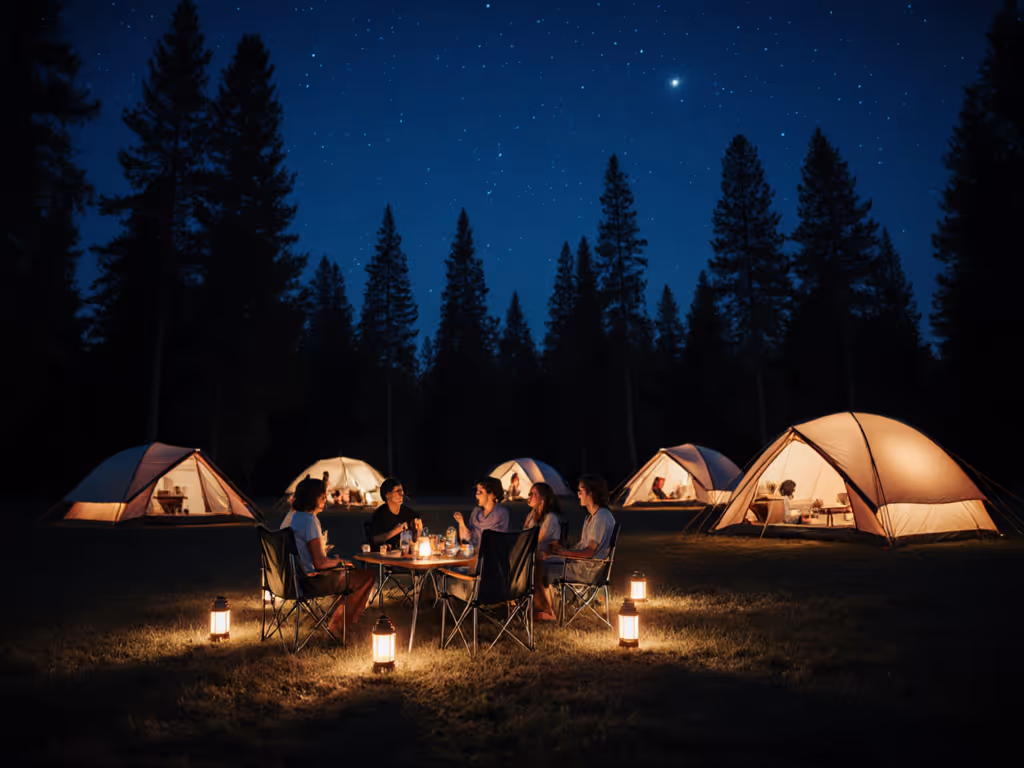
For larger groups or base camp: add a second lantern and a solar panel (realistic: 5 to 10 W, for trickle charging during the day (not a full recharge)). For ultralight backpacking: drop the lantern, rely on a single high-CRI headlamp with excellent beam control, and accept that camp ambience is dimmer.
Etiquette and Community Impact
Shielded, warm lights kept low aren't just kind; they're essential if you're camping near others. A blinding lantern turned away from your neighbor's tent creates friction. Announcing 'lights out at 10' and dimming your kit reinforces that you're aware of shared space. If you're hosting a group camp or running a scout outing, red-light-only periods after a certain time aren't restrictive (they're restorative), helping kids and adults sleep and letting everyone see stars.
Sustainable Choices and Repairability
Lights that last through multiple seasons, with replaceable parts and accessible power cells, generate less e-waste than disposable-battery lanterns or sealed-unit headlamps that fail when the proprietary battery dies. A headlamp with an open 18650 tube, a lantern with a user-swappable diffuser, and a power bank with a replaceable charging cable are longer-term tools. They cost more upfront but amortize over dozens of trips.
Before buying, check: Can you open it? Are cells user-replaceable? Is there a warranty statement, and does it actually cover wear? Does the manufacturer or community repair culture support spare parts, or will you bin the light when its battery fades? These questions are dull until they matter (which is on your third trip), when a headlamp with replaceable cells keeps working and one with a soldered 1000 mAh pack becomes decorative.
Further Exploration
Your lighting system isn't set in stone. Leave no trace lighting evolves with seasons, trip length, and group size. Test one kit at a local park before committing to a multiweek backcountry push. Measure runtimes yourself rather than trusting packaging. Seek out teardown reviews and community forums where users compare tint, CRI, and real-world runtime (places where skepticism is the norm). Start with one warm, dimmable, high-CRI headlamp and one matching lantern, add a power bank, and build from there. Small kits force intentionality. Add more lights only when you've exhausted the intelligence of the ones you have.
The goal is not the brightest campsite; it's a camp that feels right, lets your neighbors sleep, leaves the night sky intact, and works reliably because you planned it as a system, not a collection of impulse buys. That kind of gear almost disappears into your trip, until, years in, you realize it's become as trusted as my grandfather's lantern, but quieter, kinder, and built to last.
Related Articles