Camp Lighting Guide: Warm Ambiance Without Glare
By Naoko Sato • 3rd Oct
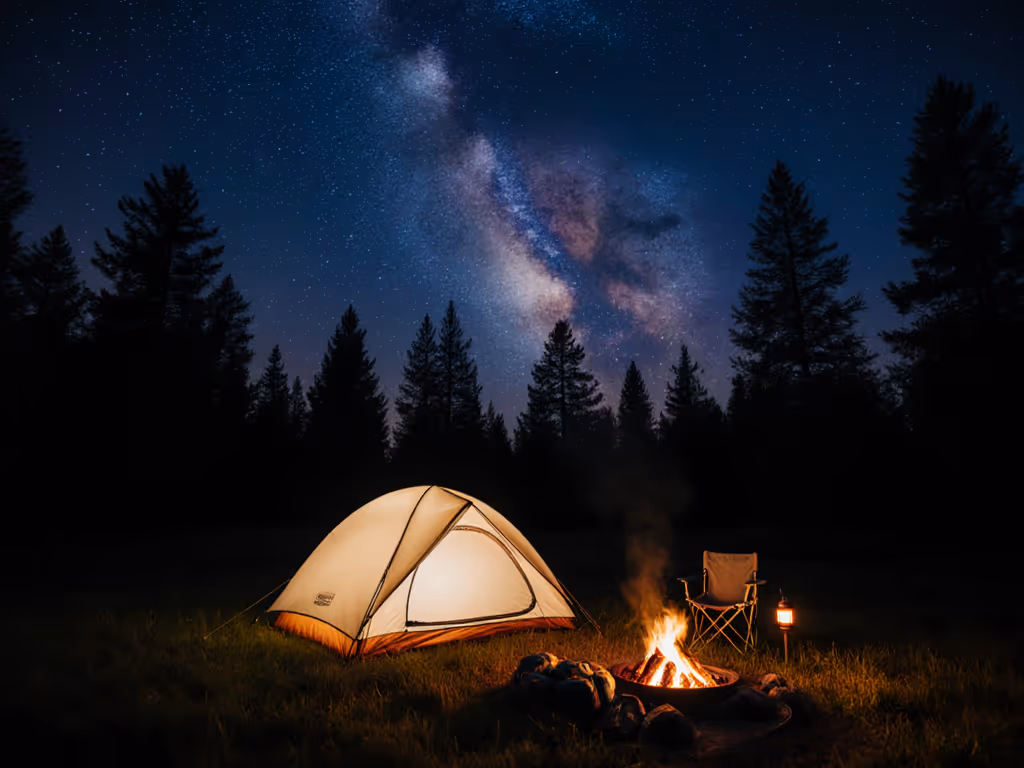
Thoughtful campsite lighting transforms a simple overnight stay into a sanctuary that honors both people and place. When designed with human needs and environmental context in mind, campsite lighting becomes more than illumination, it becomes hospitality. The quality and placement of your lights directly impact sleep quality, night vision, conversation flow, and even the visibility of the Milky Way above. In this guide, we'll explore how to create warm, functional lighting that enhances your camp experience without dominating the natural environment.
Understanding Light Quality: CCT, CRI, and Circadian Considerations
Color Temperature and Its Impact
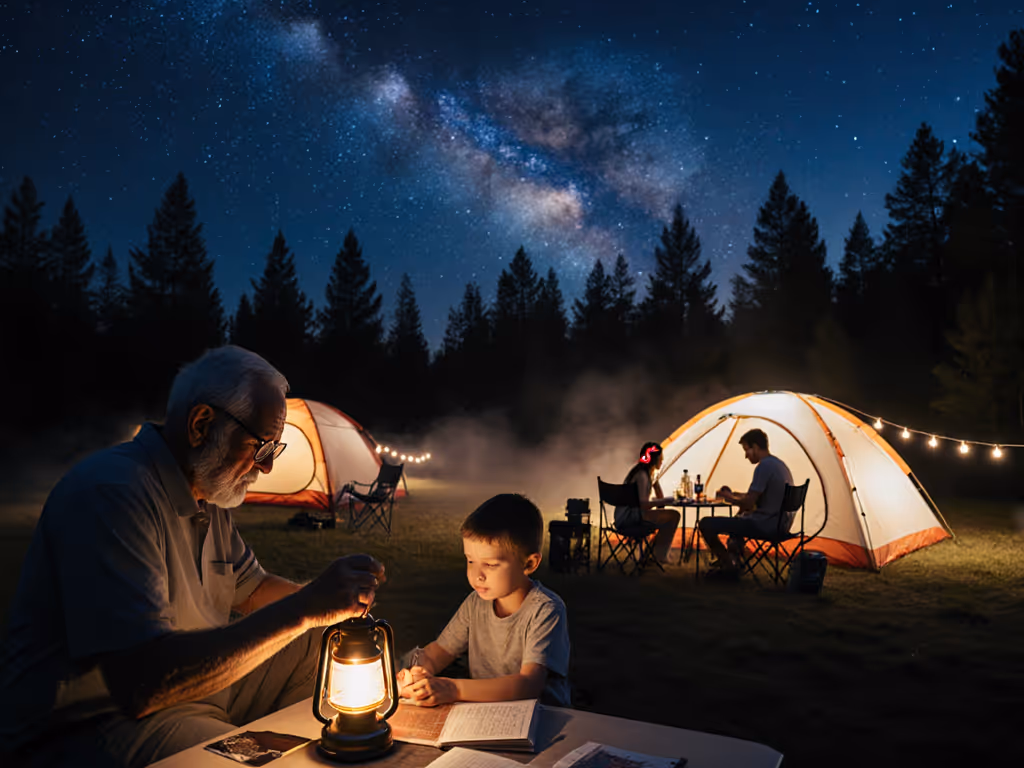
Correlated Color Temperature (CCT) measures light warmth or coolness in Kelvins (K). For evening campsite use, aim for 2700-3000K, the warm glow of candlelight or sunset. This range supports natural melatonin production, helping both adults and children transition to sleep. Higher CCT values (4000K+) contain more blue wavelengths that suppress melatonin, disrupt sleep cycles, and degrade night vision, making them inappropriate for evening campsite ambiance. For a deeper dive into color temperature choices and how they affect mood and night vision, see warm white vs cool white camping lights.
During one family trip, I witnessed firsthand how harsh cool lighting affected our youngest camper. Once we switched to warmer tones and implemented simple shielding techniques, bedtime routines stabilized and nighttime conversations deepened. Gentle light makes every voice easier to hear.
Color Rendering Index: Seeing Clearly
CRI (Color Rendering Index) measures how accurately a light source reveals colors compared to natural light. For campsite tasks like cooking, first aid, or gear organization, select fixtures with CRI >90. Low-CRI lighting distorts colors, making it challenging to distinguish between similar fabrics or assess injuries accurately, a critical safety consideration that many overlook when choosing outdoor lighting.
Strategic Placement and Control
Layering Lighting Thoughtfully
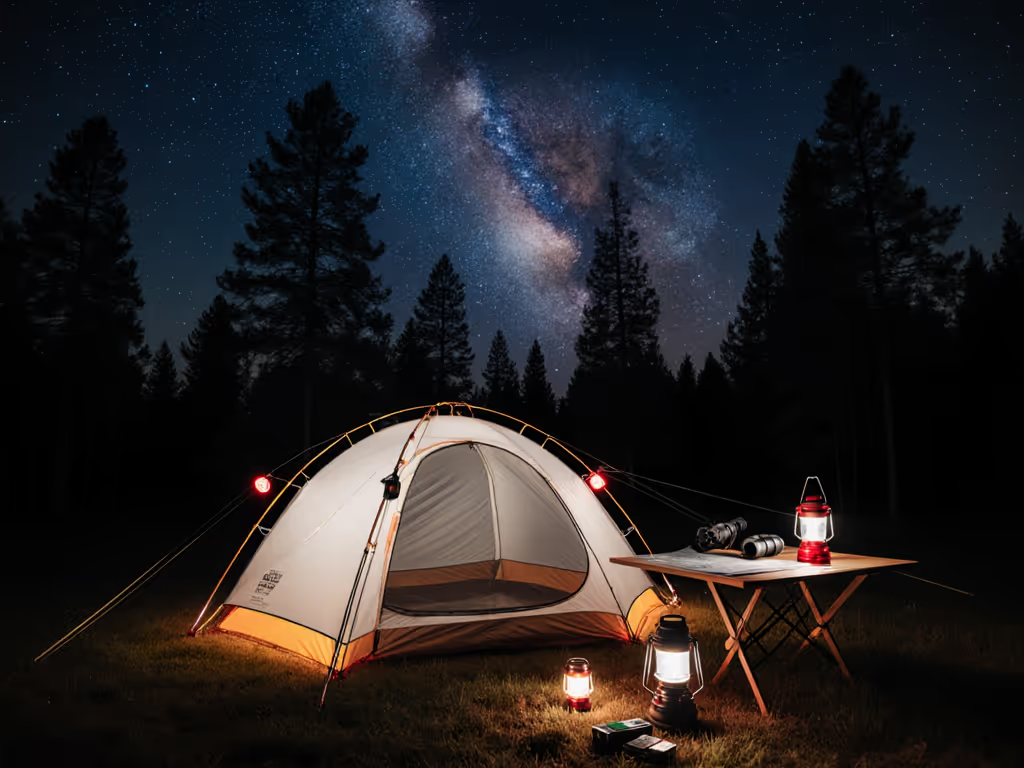
Effective campsite ambiance emerges from layered lighting rather than single overpowering sources. Implement three distinct layers:
- Task lighting (300-500 lumens): For cooking areas and gear maintenance
- Ambient lighting (100-200 lumens): For seating areas and tents
- Path lighting (10-50 lumens): For low, shielded route markers
This approach creates visual hierarchy while preventing the glare that ruins night vision. Rather than installing bright overhead lighting, consider fixtures that direct illumination downward and outward from your core activity areas.
Beam Control and Shielding Techniques
Uncontrolled light spill creates glare that affects both your group and neighboring campsites. Opt for fixtures with:
- Full cutoff design (light directed only where needed)
- Adjustable hoods or baffles
- Diffusers that soften harsh point sources
- Beam angles no wider than 120 degrees for ambient lighting
Many campers overlook how much light pollution they create. A simple test: stand at your tent's entrance and check if your lights illuminate neighboring sites or the sky. If they do, reposition or shield your fixtures immediately. The best campsite lighting creates distinct pools of light confined to your immediate area.
Campsite Lighting Etiquette: Light as Hospitality
Social Responsibility Through Design
Your lighting choices directly impact other campers' experiences. Thoughtful landscape lighting installation principles from urban design apply equally in wilderness settings:
- Position all lights below eye level when seated
- Direct illumination downward using shades or baffles
- Maintain light levels only as bright as necessary for the task
- Use warm tones exclusively after dark
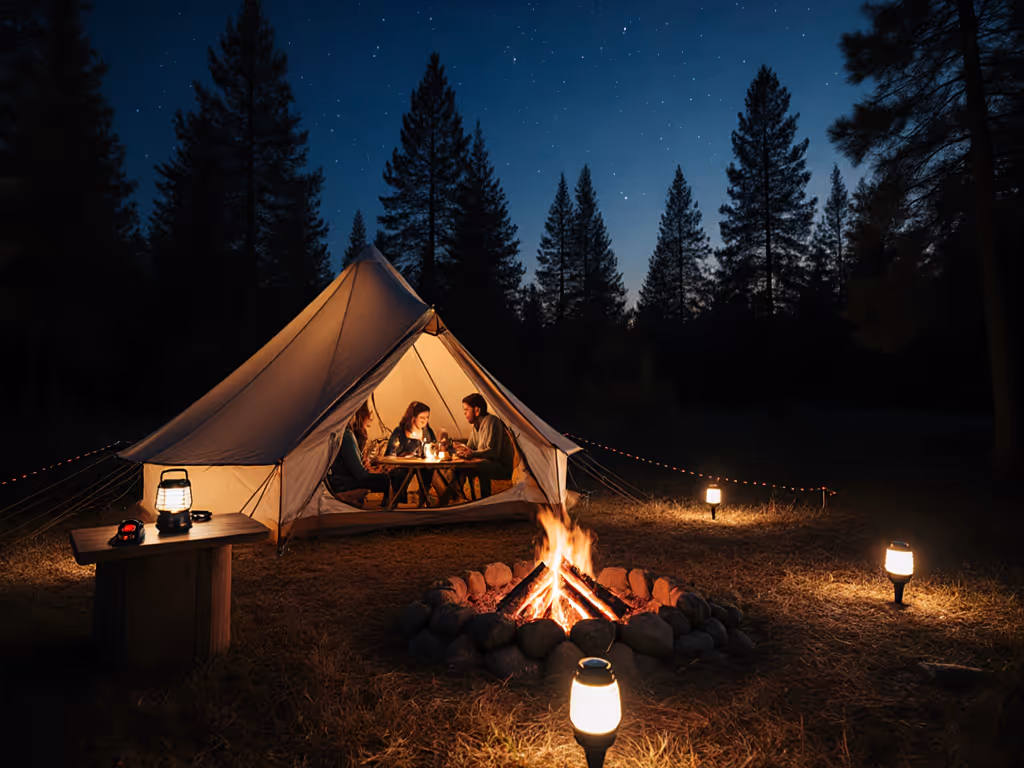
When lights are positioned thoughtfully, they create defined activity zones without intruding on others' space. This approach respects the shared nature of public lands and supports the collective enjoyment of dark skies.
Dark-Sky Preservation Principles
As responsible campers, we must protect natural darkness. The International Dark-Sky Association recommends:
- Using only shielded fixtures that direct light downward
- Choosing warm white (2700-3000K) or amber lighting after sunset
- Turning off unnecessary lights during prime stargazing hours
- Keeping brightness at functional minimum levels
Every light left unshielded or set too bright contributes to skyglow that diminishes our collective heritage of star-filled nights. Light is hospitality. It extends care not just to your own group but to all who share the wilderness.
Creating Your Integrated Lighting System
Power Planning and Sustainability
The best lighting system addresses both performance and sustainability:
- Standardize on USB-C rechargeables where possible
- Choose fixtures compatible with 18650/21700 batteries for interoperability
- Calculate total mAh requirements for your trip duration
- Include 20% extra capacity for cold weather performance loss
This eliminates battery anxiety while reducing e-waste. Many manufacturers now offer field-replaceable batteries, a sustainable choice that extends product life and reduces electronic waste.
Product Selection Criteria
When evaluating lighting options, prioritize:
- CCT accuracy (verified measurements, not marketing claims)
- True CRI values (>90 for task lighting)
- Intuitive user interfaces with immediate access to low modes
- Weather resistance appropriate for expected conditions
- Physical shielding that prevents glare
As a contextual example, the NEBO 15 LED lantern offers a warm 2700K output with adjustable brightness, sufficient for ambient lighting without overwhelming nearby campsites. Its realistic flickering flame creates a cozy focal point while staying within recommended brightness levels for campsite decoration.
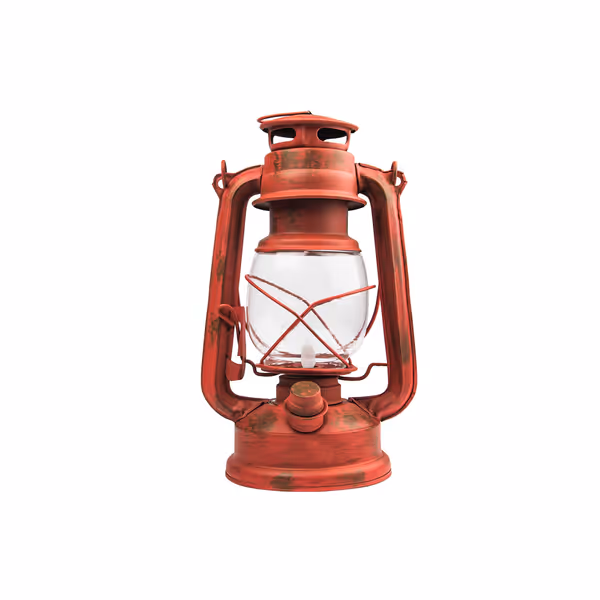
NEBO 15 LED Lantern (Rustic Red)
Classic flickering ambiance with modern, safe, battery-powered convenience.
$35.99
Max Lumens100
Max Lumens100
Pros
Realistic flame effect & rustic charm (looks like real fire!)
Adjustable brightness for desired ambiance
Safe, smoke-free operation
Cons
Mixed reports of long-term reliability issues
Perceived as not worth the price by some
Customers find the lantern visually appealing, with one noting it looks like real fire, and appreciate its build quality and adjustable brightness. The flickering flame effect receives positive feedback. However, functionality is mixed, with several customers reporting that the lantern stops working after some time. Additionally, one customer mentions it's not worth the price.
Customers find the lantern visually appealing, with one noting it looks like real fire, and appreciate its build quality and adjustable brightness. The flickering flame effect receives positive feedback. However, functionality is mixed, with several customers reporting that the lantern stops working after some time. Additionally, one customer mentions it's not worth the price.
Implementation Checklist
Before your next trip, verify your lighting setup addresses:
Light is hospitality. It should serve without dominating.
- All fixtures emit 3000K or warmer after sunset
- No light sources create glare above seated eye level
- Path lighting is shielded and extremely low intensity
- Total system runtime exceeds trip length by 25%
- Critical fixtures have reliable low-light modes
- All lighting is contained within your campsite boundaries
Conclusion: Illuminating with Intention
The art of camp lighting transcends mere functionality, it shapes the emotional quality of your wilderness experience. When we design campsite lighting that respects human biology, social dynamics, and natural darkness, we create spaces where rest comes easily, conversations deepen, and stars remain visible.
Consider how your lighting choices reflect care for both your companions and the broader camping community. As you refine your setup, remember that the most successful systems don't announce themselves, they simply support the experience without ever becoming the focus.
For further exploration:
- Research circadian lighting principles from the Lighting Research Center at Rensselaer Polytechnic Institute
- Study the International Dark-Sky Association's guidelines for responsible outdoor lighting
- Experiment with CCT and CRI measurements using affordable smartphone spectrometers
- Review National Park Service guidelines for night sky preservation in protected areas
By approaching camp lighting with scientific understanding and thoughtful design, you'll create nights that honor both people and place, the cornerstone of truly restorative outdoor experiences.
Related Articles