How to Achieve Dark-Sky-Friendly Driveway Illumination Without Sacrificing Style
By Kai Rios • 25th Oct
You want a driveway that feels welcoming, secure, and polished, yet you also care about protecting the night. That balance is absolutely possible with dark-sky-friendly driveway illumination that prioritizes careful aiming, warm color temperatures, and glare control without sacrificing aesthetics. In fact, when you minimize wasted light and avoid harsh hotspots, your home’s exterior and your natural surroundings both look better. Think of it like tuning a sound system: instead of blasting volume in all directions, you direct the right notes exactly where they belong. In the pages ahead, you will learn the key principles behind dark-sky design, see practical product and layout options, and discover how Camp Crew Lighting’s field-tested guidance - distilled from campsite lighting reviews and hands-on testing - can inform your choices for residential driveways.
Why Dark-Sky Principles Matter for Home and Campsite Driveways
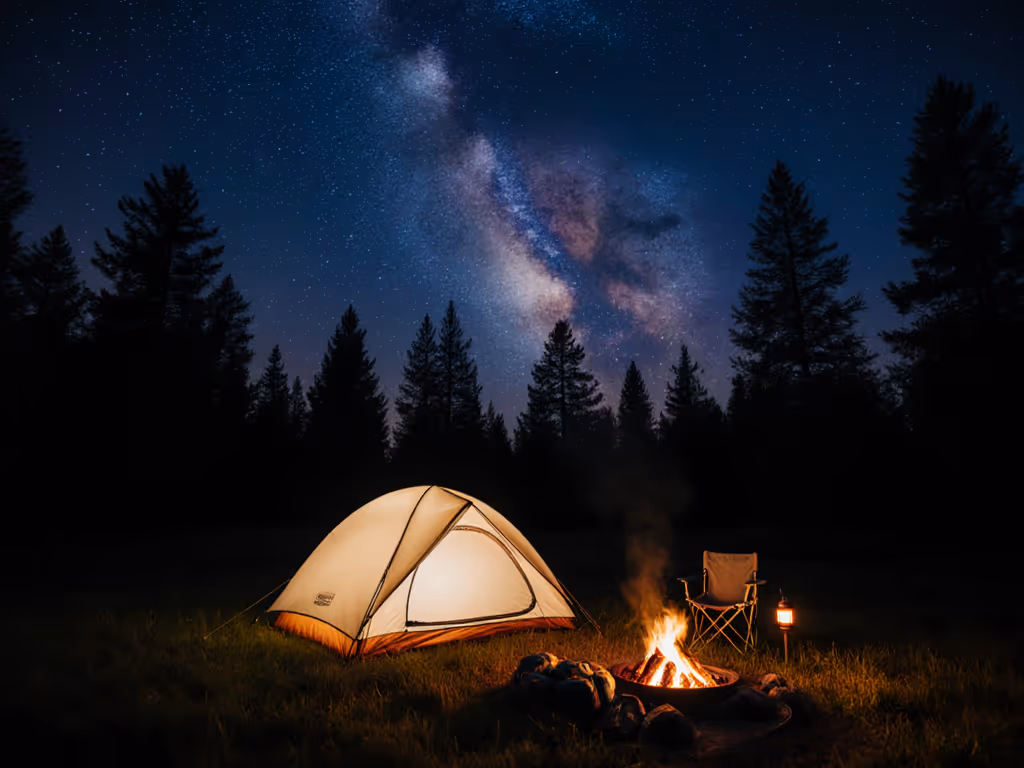
Dark-sky-friendly design is not just an environmental preference; it is a performance upgrade for visibility, comfort, and energy use. Skyglow has been rising globally for decades, and research commonly cited by the International Dark-Sky Association points to blue-rich light sources as a driver of excessive glare and scattered light. When you select warmer color temperatures around 2700–3000 kelvin and shield fixtures to prevent upward spill, the stars appear crisper and your property lines feel calmer. Just as importantly, proper shielding improves contrast on pavement, helping you discern edges, curbs, and obstacles without squinting. Meanwhile, your neighbors benefit from less light trespass and your local ecosystem experiences fewer disruptions to wildlife movement. If you camp, you already know the difference low-glare, warm lighting makes for night vision and mood. Bringing that same approach home means subtle, targeted brightness that guides the way while preserving the night around you.
Driveway Illumination Technologies and Optics
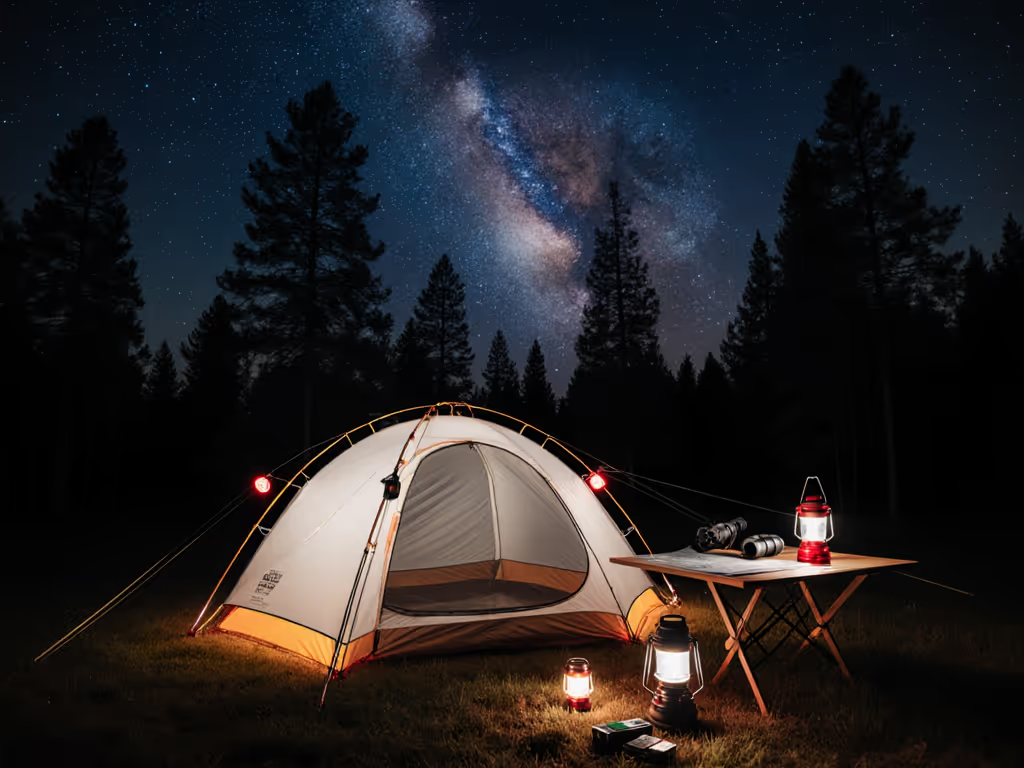
Choosing the right fixture type is like choosing the right tool in a workshop: each has a purpose, and the best results come from matching function to form. Shielded wall lights and full-cutoff bollards concentrate light where you need it most, while recessed in-paver options can mark edges with minimal glare when aimed correctly. For many locations, light-emitting diode (LED) sources excel because they provide high efficacy, long service life, and consistent warm color temperatures, especially when you specify 2700–3000 kelvin. Optics matter, too. Narrow beams (for example, 20–30 degrees) can highlight an entry pillar without bleeding into the sky, whereas wide beams (for example, 60–120 degrees) are better for gentle, low-height path lighting that emphasizes spread over intensity. As you evaluate products, look for a Backlight-Uplight-Glare (BUG) rating or explicit language about full shielding and zero uplight, as these specifications help predict real-world glare performance. To ensure fixtures survive rain, dust, and snow, see our IP rating guide for outdoor lights.
Watch This Helpful Video
To help you better understand driveway illumination, we've included this informative video from FloraVid. It provides valuable insights and visual demonstrations that complement the written content.
Common Fixture Types for Dark-Sky-Friendly Drives
| Fixture Type | Best Use | Glare Risk | Style Notes | Dark-Sky Tip |
|---|---|---|---|---|
| Full-cutoff bollards | Even, low-height guidance along edges | Low when height and spacing are correct | Modern, minimalist forms with warm finishes | Choose 2700–3000 K and louvers to shield optics |
| Shielded wall lights | Garage facades and gate posts | Low to medium depending on aiming | Works with contemporary or craftsman exteriors | Aim downward; avoid clear exposed lamps |
| Recessed paver markers | Subtle lane and edge marking | Very low if flush and louvered | Nearly invisible by day for a clean look | Specify frosted diffusers and low lumen output |
| Low-voltage path lights | Curved drives and garden borders | Low with proper hats and shrouds | Traditional or transitional silhouettes | Use deep hats that hide the light source |
| Under-cap hardscape strips | Retaining walls flanking the drive | Very low with forward-throw optics | Clean, architectural lines | Mount so diodes are not visible from the street |
However, hardware alone will not guarantee comfort or compliance with dark-sky goals; it is how you aim, dim, and control that truly sets the mood. A modest 100–200 lumens per fixture often suffices for guidance, and continuous runs can be replaced by spaced pools of light that let your eyes adapt to darkness naturally. Because light-emitting diode (LED) sources are instantly dimmable and sips energy, you can program gentle brightness for routine hours and use motion activation for higher output only when people or vehicles approach. This approach mirrors seasoned camping practice: keep most lanterns low and warm, then boost the one task light briefly when you really need it. The result is elegant, efficient, and kind to the sky.
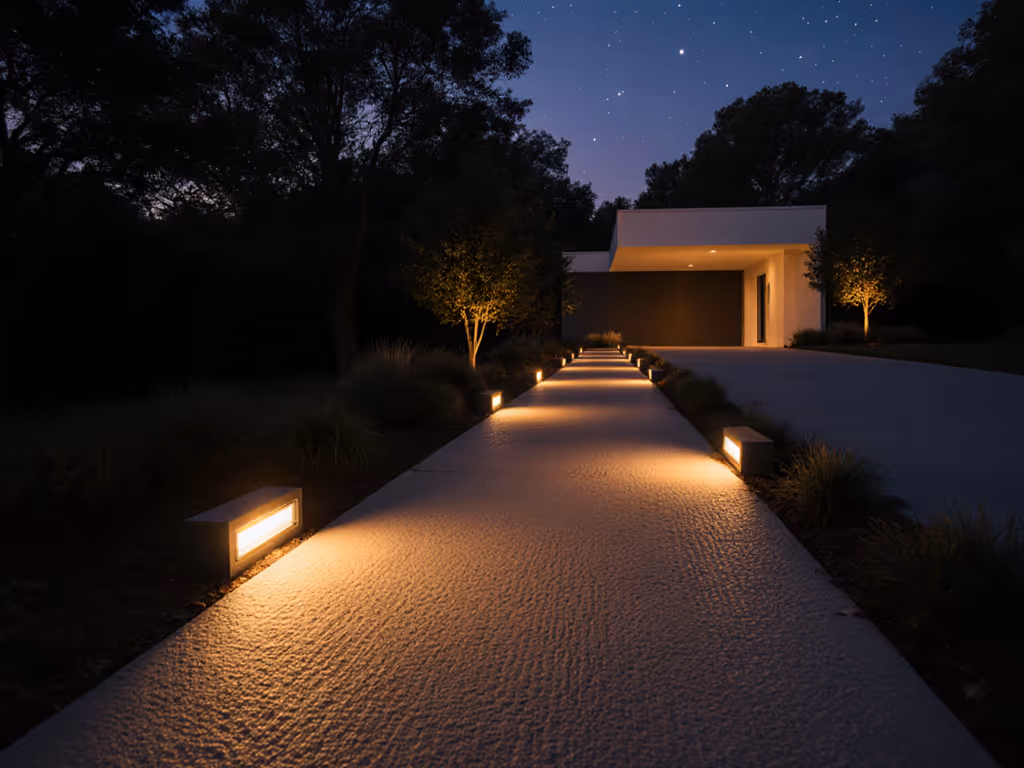
Design Strategies: Aiming, Heights, and Spacing to Prevent Glare
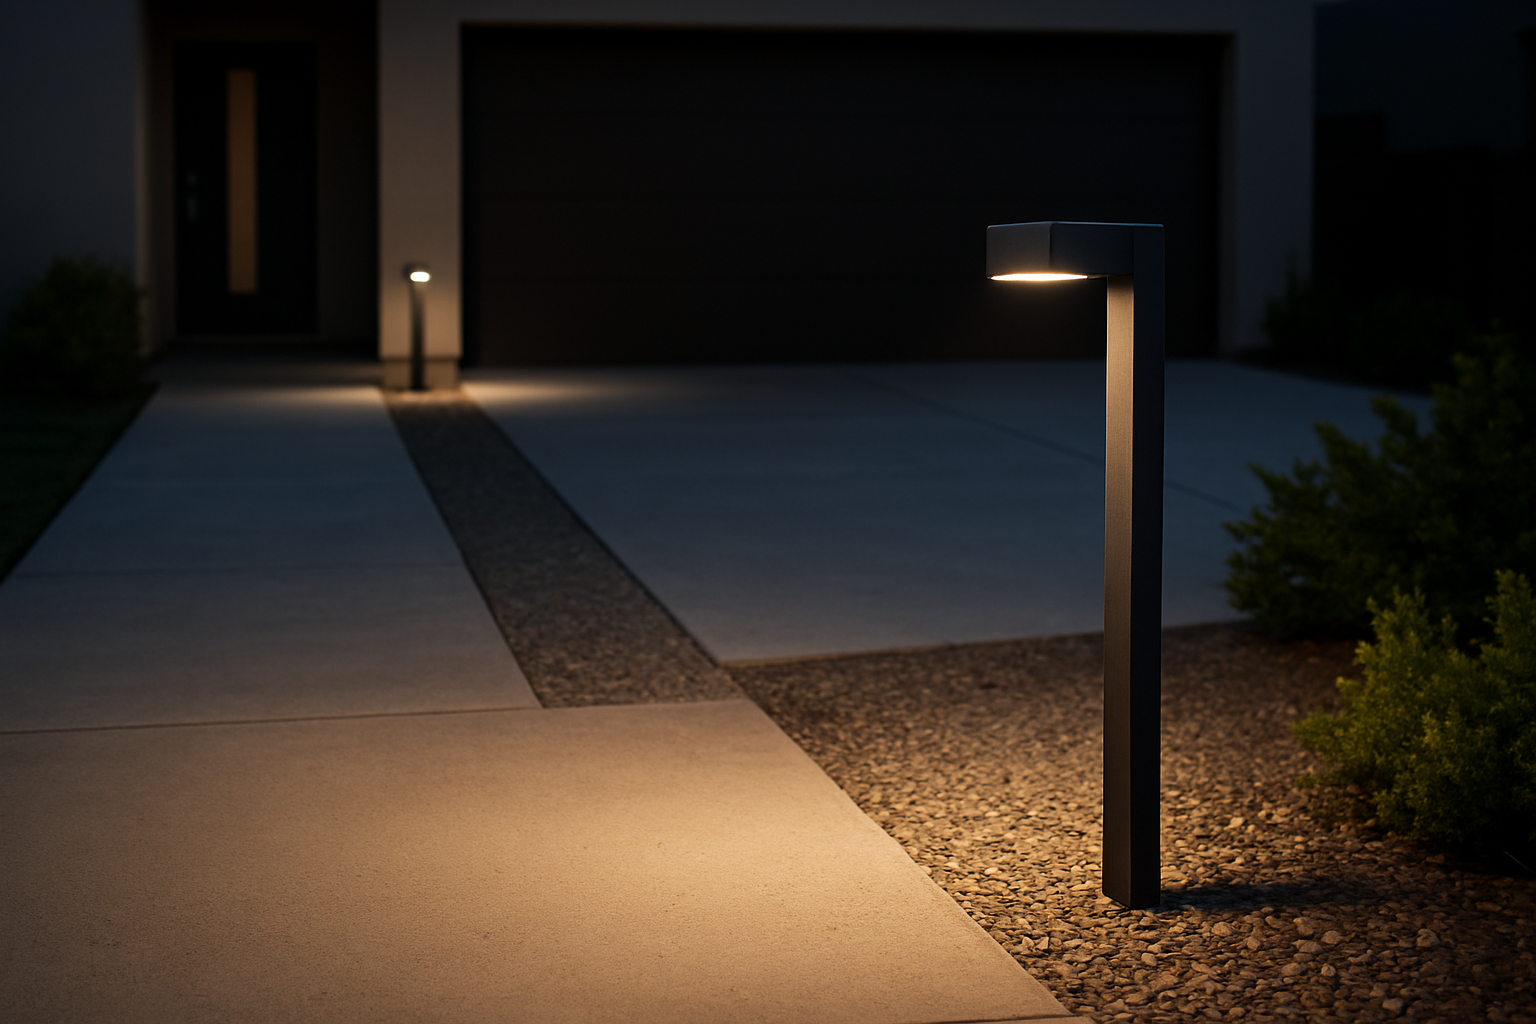
Design is where style meets science, and small choices here pay off for years. Aim fixtures so the light cone ends before property lines or bedroom windows, and mount at heights that minimize direct sightlines to the emitter. For pathways and driveway borders, 18–24 inches is a sweet spot for many bollards and path lights, because the beam grazes the surface rather than your eyes. For garage-mounted luminaires, consider 7–8 feet with a firm downward tilt and a visor that hides the light-emitting diode (LED) point source from view. Importantly, favor contrast over brute force. Your eyes perceive relative brightness; a sequence of gentle pools reads as continuous guidance without the harshness of a uniform, flatly lit slab. This technique also reveals textures in plants, stone, and gravel, which elevates curb appeal. If you're debating whether ground-level pathway lights or overhead string lights make more sense for navigation, see our pathway vs string lights comparison.
Quick Layout Guide: Typical Spacing and Mounting
| Application | Mounting Height | Typical Spacing | Suggested Lumens/Fixture | Notes |
|---|---|---|---|---|
| Bollards/path lights | 18–24 in | 2.5–4 times mounting height | 100–200 | Alternate sides to create rhythm |
| Garage wall lights | 7–8 ft | One per car bay | 300–600 | Full cutoff; dim at late hours |
| Recessed paver markers | Flush | 3–6 ft apart | 20–60 | Use frosted lenses to avoid sparkle |
| Under-cap hardscape | Cap underside | Continuous, but low output | 50–150 per linear ft | Aim slightly forward; shield from roadway |
Spacing and aiming become even more important on curved drives or sloped grades where glare can sneak into direct view. On curves, tighten spacing at the apex so the apparent brightness remains even, and use fixtures with deep hoods to hide the light source from approaching drivers. On slopes, position fixtures on the lower side of the grade or add visors so the beam grazes uphill rather than shining directly into eyes. It is also wise to test placements with temporary stakes and battery-powered light-emitting diode (LED) test lamps at night before committing to final locations. That trial run lets you fine-tune angles and confirm there is no spill into the sky or neighboring windows. A single evening of testing can save years of frustration.
Power and Controls: Smarter Energy Use for Long Nights
Power choices shape both maintenance and environmental impact, and a hybrid strategy often delivers the best mix of resilience and sustainability. Low-voltage systems fed by a small transformer are reliable for year-round homes, while carefully selected solar fixtures excel for edge markers where sunlight is abundant and trenching is difficult. For both approaches, layer in controls that support human rhythms and wildlife movement. To fine-tune brightness without blowing out night vision, consider adjustable, warm-dimming lighting principles you can apply at home. Warm, low-dim baselines help your eyes stay adapted, and only ramping up brightness on approach preserves energy and serenity. According to field tests frequently cited in energy programs, motion-activated, dim-to-warm sequences can reduce nightly energy consumption by well over half versus always-on, full-bright setups, and they feel more luxurious, too.
- Use astronomical timers to align on/off with sunset and sunrise automatically.
- Add motion sensors at driveway entries to raise light only when a person or car arrives.
- Favor 2700–3000 kelvin emitters to limit blue content that drives skyglow.
- Select rechargeable systems with user-replaceable batteries to extend service life.
- Test for uniform charging if you choose solar; avoid shaded placements that create patchy output.
Materials and Style: Beauty Without Light Trespass
Dark-sky-friendly does not mean dull, and materials can carry the style you want while the optics do the technical heavy lifting. Bronze and weathered zinc pair well with warm light, while matte black can make fixtures visually disappear so plantings and stonework take the stage. Frosted diffusers and internal louvers soften brightness at the edge of the beam, creating the kind of visual comfort you feel around a well-placed camp lantern. To avoid sparkly hotspots that draw the eye upward, skip exposed filaments and clear lenses in favor of shielded, downlight-only designs. This quiet approach gives you that magazine-worthy glow along edges and textures without the glare that often makes driveways feel overlit and sterile. In short, let the light fall on surfaces, not on retinas or clouds.
Installation and Maintenance: Simple Steps, Lasting Results
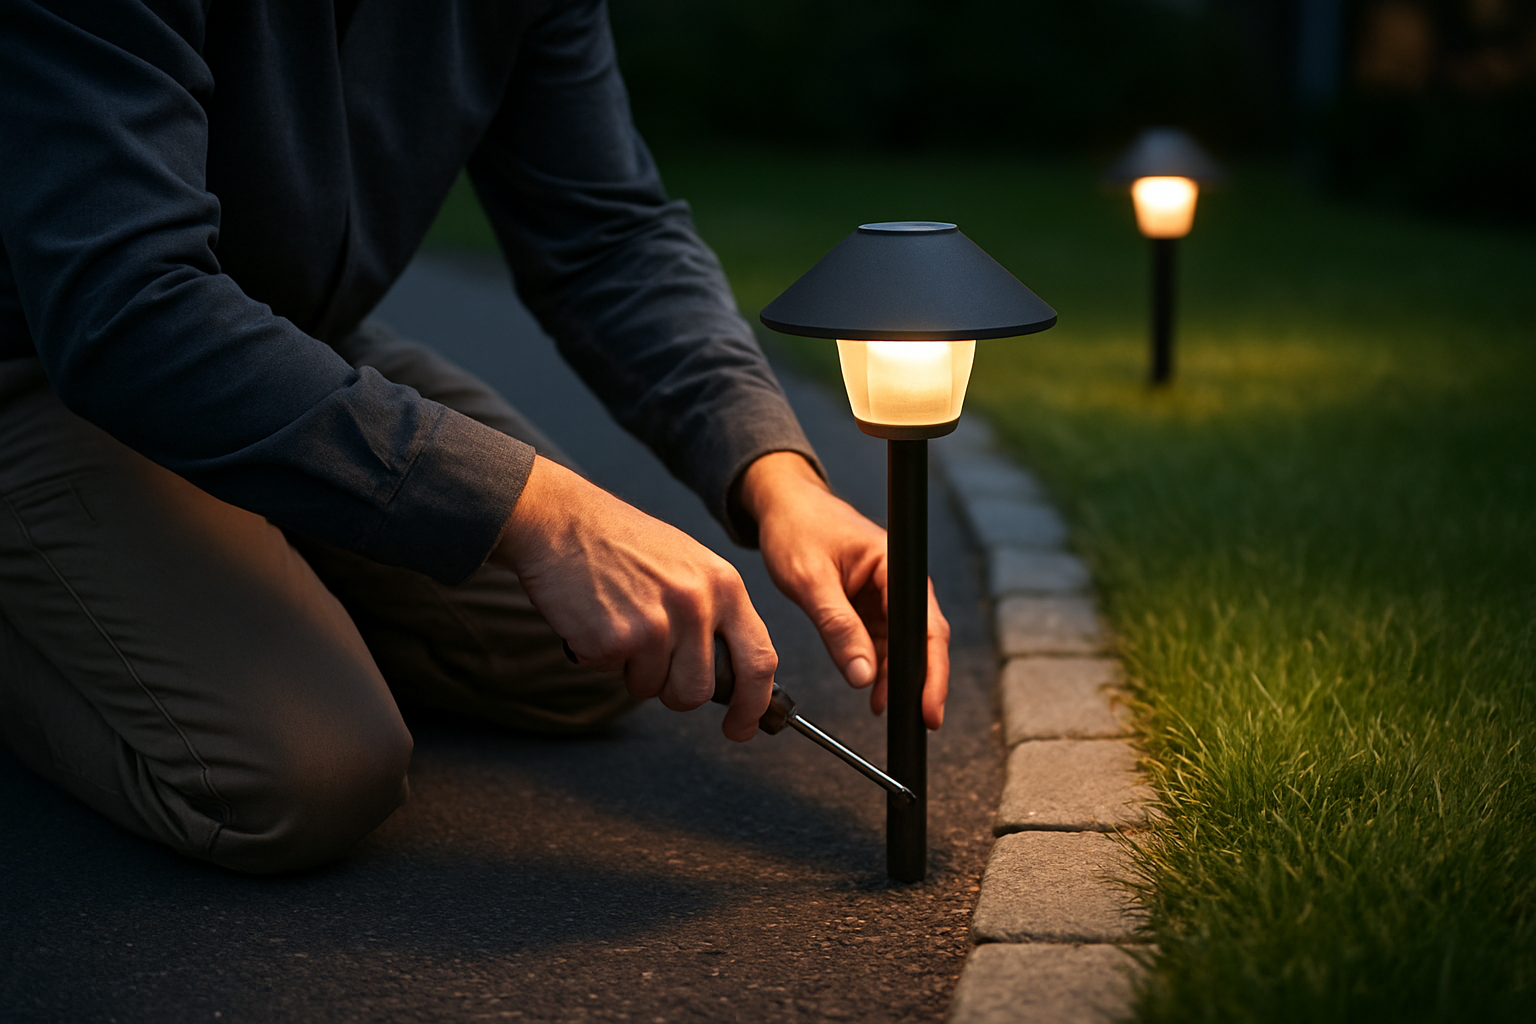
A successful, dark-sky-friendly driveway is built on careful installation and a light touch in maintenance. Before you trench or mount anything, sketch a simple plan that marks property lines, trees, and windows, then walk the route at night to feel how light should flow. Where possible, run wiring in protective conduit and leave slack for future adjustments, and always seal connections with heat-shrink or gel-filled connectors to keep moisture out. For solar units, anchor firmly and verify at least six hours of unshaded exposure. Maintenance is straightforward: clean lenses, trim vegetation that blocks intended beams, and reassess dimming schedules seasonally as night lengths change. For more upkeep tips that extend LED life and battery performance, follow our camping light maintenance guide. A fifteen-minute tune-up at the start of each season sustains comfort and keeps wasted light from creeping back in.
- Mock up with temporary, low-output lights to confirm aiming and brightness.
- Install shields and visors first; then set dimming levels.
- Program timers and motion sensors and test walk-throughs from the curb.
- Revisit after two nights to tweak spacing or tilt as needed.
Real-World Scenarios and Budget Ranges
It helps to see how these choices come together in realistic scenarios. A compact urban driveway may only need four shielded wall lights dimmed to a gentle 25 percent for most of the evening, with motion-triggered boosts when you park. A rural, tree-lined approach might pair low-voltage bollards on the open side with recessed paver markers on the shaded side to maintain even guidance without overlighting. In both cases, warm color temperature, full shielding, and careful spacing protect night vision and wildlife while delivering a refined visual story. As you compare options, remember that lower output, higher-quality fixtures often outshine brighter, budget units by directing light more intelligently and aging more gracefully in the weather.
Sample Dark-Sky Driveway Plans and Estimated Costs
| Scenario | Components | Qty | Approx. Cost (USD) | Notes |
|---|---|---|---|---|
| Urban single-car | Shielded wall lights + timer + motion sensors | 2–3 | 400–900 | Dim to ~25% baseline, boost on arrival |
| Suburban two-car | Bollards + under-cap strips + transformer | 6–8 bollards | 1,200–2,800 | Use louvers; aim strips forward only |
| Rural curved | Low-voltage bollards + recessed paver markers | 8–12 + 8–12 | 2,000–4,200 | Tighten spacing at curve apex |
| Off-grid retreat | Solar edge markers + shielded gate lights | 10–14 + 2 | 600–1,600 | Verify solar exposure; warm color temperature |
How Camp Crew Lighting Guides Your Dark-Sky Design
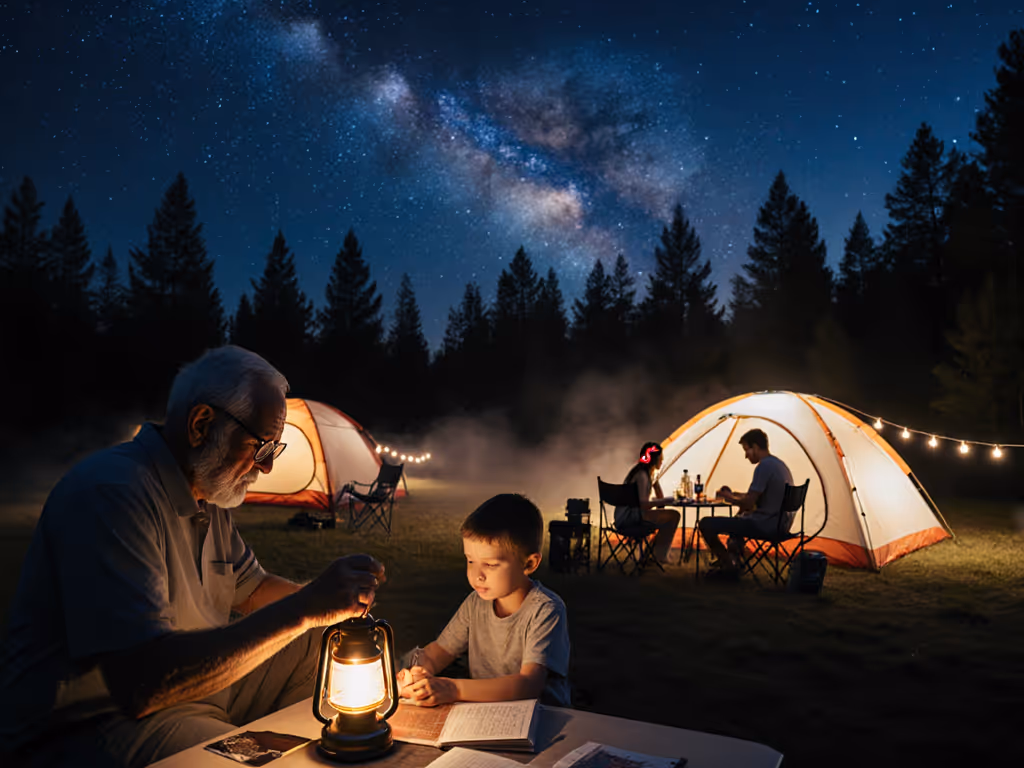
Camp Crew Lighting distills the discipline of low-glare, efficient campsite lighting into practical, field-tested knowledge readers can apply to residential driveways. If you have ever struggled with lanterns that blow out night vision or batteries that drain too fast, you already understand the problems traditional lights cause: glare, harsh blue output, and wasted power. Our team addresses those issues head-on through comprehensive reviews of camping lighting products, dark-sky-friendly lighting system guides, how-to content on setup and maintenance, head-to-head comparisons and feature evaluations, and curated recommendations by price, activity, and user need. We help readers apply those insights to their own driveway projects - preserving the night environment, reducing glare, extending battery life in rechargeable systems, and creating a welcoming, stylish approach every evening. Whether you are outfitting a home, a cabin, a glamping site, or festival parking lanes, you get tailored, real-world guidance that respects the sky and elevates your arrival experience.
- Assess your site and goals, then match fixture types to tasks and style.
- Specify warm emitters, full shielding, and precise dimming schedules.
- Build hybrid power strategies that balance grid, solar, and rechargeable options.
- Offer ongoing maintenance checklists that keep light on the ground and out of the sky.
Elegant by design and gentle to the night, dark-sky strategies let your driveway glow with confidence, not glare. In the next 12 months, expect more fixtures to ship with factory shielding, warmer defaults, and smarter controls that make great habits effortless. What would it feel like to step outside to a star-filled sky and a driveway illumination plan that guides you home beautifully every single night?
Imagine welcoming guests with a soft, cinematic path while nearby wildlife and neighbors rest undisturbed. Which choices will you make today to protect the night and perfect your driveway illumination?
Additional Resources
Explore these authoritative resources to dive deeper into driveway illumination.
- LED In-Ground Paver Lights | Driveway Lights in Concrete
- Illuminate Your Way Home: Best Driveway Lighting Ideas
Elevate Driveway Illumination with Camp Crew Lighting
Explore Comprehensive reviews of camping lighting products to achieve dark-sky-friendly guidance that preserves nights, reduces glare, extends battery life, and enriches outdoor arrivals for campers and enthusiasts.
Related Articles